Chair exercises for seniors who want to move more are low-impact movements you do sitting in a stable chair, or standing while holding one for support. They work the legs, hips, back, core, and shoulders without jumping, floor work, or heavy loading, which makes them one of the safer ways to stay active as you age.
That is the honest pitch, and it is a good one. Sitting removes most of the load of gravity from your lower body while still asking every joint to move through its full range, so muscles keep contracting, balance improves, and everyday tasks like rising from a chair or carrying groceries get easier. Before you start anything on this list, talk to your doctor or a physical therapist, especially if you have had a fall, a joint replacement, recent surgery, or a heart condition.
The moves below run from fully seated to chair-supported standing. Most take under a minute each, most need no equipment beyond the chair itself, and every one has an easier version. Pick three to start with rather than trying all twelve on day one.
Table of Contents
- Chair Exercises for Seniors Who Want to Move More: At a Glance
- How to prepare safely for chair exercises
- 1. Seated Marching
- 2. Seated Leg Extensions
- 3. Chair-Supported Heel Raises
- 4. Seated Ankle Pumps and Circles
- 5. Seated Side-to-Side Weight Shifts
- 6. Seated Torso Twists
- 7. Seated Arm Circles
- 8. Seated Rows With a Resistance Band
- 9. Seated Overhead Reaches
- 10. Seated Knee Lifts With Optional Reach
- 11. Chair-Supported Mini Squats
- 12. Seated Leg Kicks and Front Kicks
- Frequently Asked Questions
- How long should a senior do chair exercises each day?
- How often can older adults safely do chair exercises?
- What if I am not steady enough to stand while exercising?
- How do I know I am exercising at the right level?
- When should I stop exercising and contact a healthcare professional?
- A Gentle Routine to Start Today
Chair Exercises for Seniors Who Want to Move More: At a Glance
| Exercise | Seated or chair-supported | What it works | Equipment |
|---|---|---|---|
| Seated marching | Seated | Hip flexors, core, circulation | None |
| Seated leg extensions | Seated or supported standing | Quadriceps | None, optional ankle weight |
| Heel raises | Chair-supported standing | Calves, ankle stability | Chair or wall |
| Ankle pumps and circles | Seated or in bed | Ankles, lower-leg circulation | None |
| Side-to-side weight shifts | Seated | Glutes, hip mobility, balance | None |
| Torso twists | Seated | Obliques, upper back, posture | None |
| Arm circles | Seated or standing | Shoulders, upper back | None or wall |
| Seated rows | Seated | Upper back, biceps, grip | Light resistance band |
| Overhead reaches | Seated or supported standing | Shoulders, side body, posture | None |
| Knee lifts with reach | Seated | Core, coordination, hips | None |
| Mini squats | Chair-supported standing | Quads, glutes, sit-to-stand strength | Chair |
| Leg kicks and front kicks | Seated | Hip flexors, glutes | None, optional ankle weight |
How to prepare safely for chair exercises
Use a straight-backed chair with no wheels, no swivel base, and no arms if you need to grip something while standing. Push it against a wall so it cannot slide. A rolling office chair or a folding stool is not safe for this.
Sit tall with both feet flat on the floor about hip-width apart, shoulders relaxed, and your chin level rather than tilted up. Breathe steadily through your nose and mouth. Never hold your breath, because that is what makes people lightheaded.
Pick a pace you could hold for a full minute while still speaking in sentences. If you cannot talk while you move, slow down. Range of motion, which simply means how far a joint travels, matters more than the number of repetitions on any of these.
1. Seated Marching
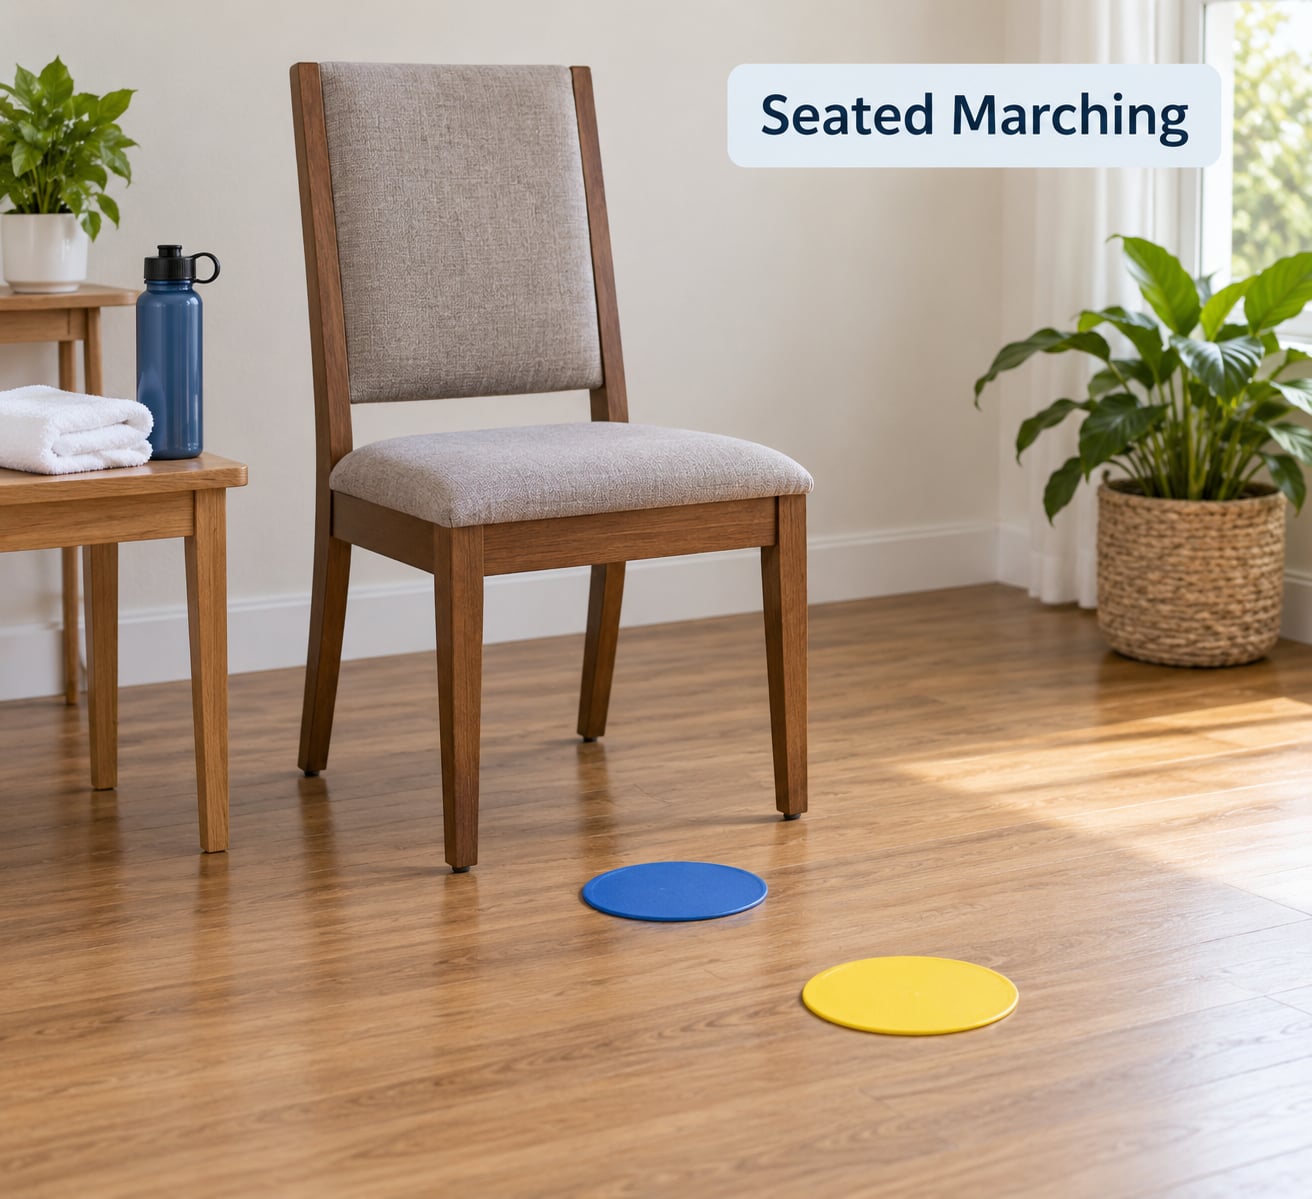
Seated marching is the simplest way to get the blood moving and wake up the muscles that hold you upright. Lift one foot a few inches off the floor, set it down, then lift the other. You are not trying to march high.
Sit tall, keep your hands resting lightly on your thighs, and draw your ribs down over your pelvis. Lift the foot only as high as you can without leaning back or holding the chair arms. Ten alternating lifts per side is plenty to start, and you can do two or three rounds with a rest between them.
Easier version: tap the heel lightly instead of lifting the foot clear of the floor. Harder version: add a gentle reach of the opposite arm, which turns it into a coordination drill. If you feel dizzy, sit back against the chair and stop for the day. You should feel your hip flexors working and your breathing deepen, but no knee pain.
2. Seated Leg Extensions
Seated leg extensions build the quadriceps, the four muscles on the front of the thigh. Those muscles are what let you stand up from a chair, climb stairs, and get out of a car without using your arms.
Sit back with your spine supported and your feet flat. Slowly straighten one knee until the leg is nearly level with your hip. Hold for two seconds, squeeze the front of the thigh, then lower the foot slowly until it touches the floor again. Ten repetitions per side, two sets.
If straightening fully is uncomfortable, stop the movement partway. Half a repetition done with control is worth more than a full one you force through. Standing with one hand on a counter or the back of a chair lets you work the same muscle through a larger range once your balance allows it. Common trouble spots: the knee dropping inward as it straightens, and the back arching to get the leg higher. Keep the kneecap pointing up and the ribs stacked.
3. Chair-Supported Heel Raises
Heel raises are one of the best balance exercises you can do, because your ankles and calves carry most of the load. Strong calves help you steady yourself on stairs and on uneven ground.
Stand behind your chair with your feet hip-width apart and place both hands on the top of the backrest. Your hands are there for balance, not for pulling. Rise onto the balls of your feet, pause for one second at the top, then lower your heels slowly until they touch the floor. Twelve repetitions, two or three sets.
If standing is too much, sit back down and press the balls of your feet into the floor to lift your heels a few millimetres, or do the movement lying down. A single-leg variation doubles the challenge, so only try it once two-foot raises feel easy. Stop the set if you feel wobbly, if your grip on the chair slips, or if you get a sharp pain in the calf or ankle.
4. Seated Ankle Pumps and Circles
Ankle pumps and circles are the least glamorous item on this list and probably the most useful after a long stretch of sitting. They move fluid through the lower leg, and they keep the ankle joint from stiffening up.
Sit with your feet on the floor and lift your toes while your heels stay down. Then rest. Next, lift your heels while your toes stay down. Rest again. Ten of each. From there, draw small circles with one foot, switching direction halfway through, and repeat with the other foot.
Keep the circles small enough that you do not feel your shin tighten. If you are in a wheelchair, have spent the day in a chair, or have been told to elevate your legs, this one works just as well lying down with your legs straight. It is a good five-second filler between harder moves.
5. Seated Side-to-Side Weight Shifts
Weight shifts wake up the glutes and the side of the hips, the areas that tend to go quiet from sitting. They also teach you to move your weight deliberately, which is a real balance skill.
Sit tall with your feet planted. Lean your body gently toward one side of the chair, lifting the opposite sitting bone a few millimetres. Pause, then shift across to the other side. Ten shifts each direction. Keep your shoulders level and imagine your ears staying over the same point on the wall.
If shifting feels wobbly, put your hands on the chair arms or on your thighs for support, and make the range smaller. This one pairs well with the twists below. A good sign it is working is that you can feel your glutes switch on. Stop if you get back pain, since a rounded lower back usually means the shift is coming from the spine instead of the hips.
6. Seated Torso Twists
Torso twists train the obliques, the muscles along the sides of your waist, and loosen a back that stiffens from hours in one position. The key is that the movement happens at the waist while the hips stay facing forward.
Sit with your feet flat and your hands resting on the opposite thigh, or cross your arms over your chest. Breathe in to sit tall, then exhale as you rotate your rib cage a few degrees to one side. Return to centre, then repeat to the other side. Eight to ten rotations each way, moving slowly enough that you feel each one.
A stiff back wants a smaller range, not a forced one. Start with five degrees and grow over weeks. If twisting from a seated position bothers your back, do the same rotation standing with your feet planted and your knees soft, using the chair only for balance. Sharp pain, tingling, or anything that travels down a leg means stop and ask your doctor about it.
7. Seated Arm Circles
Arm circles loosen shoulders that have been held forward and up all day. They also warm the shoulder blades before any pressing or rowing work, which is why they belong near the start of a session.
Sit tall, lift your arms out to the sides until they are about shoulder height, and draw small circles about the size of a dinner plate. Ten forward circles, then ten backward. Keep the movement coming from the shoulder blades rather than flinging the whole arm.
Make the circles smaller if your shoulders pinch. A wall slide works well as a variation: stand facing a wall, press the backs of your forearms lightly against it, and glide them up and down. Stop immediately if you feel sharp pain in the shoulder or get lightheaded, and lower your arms between sets rather than holding them out to the side, which tires the neck quickly.
8. Seated Rows With a Resistance Band
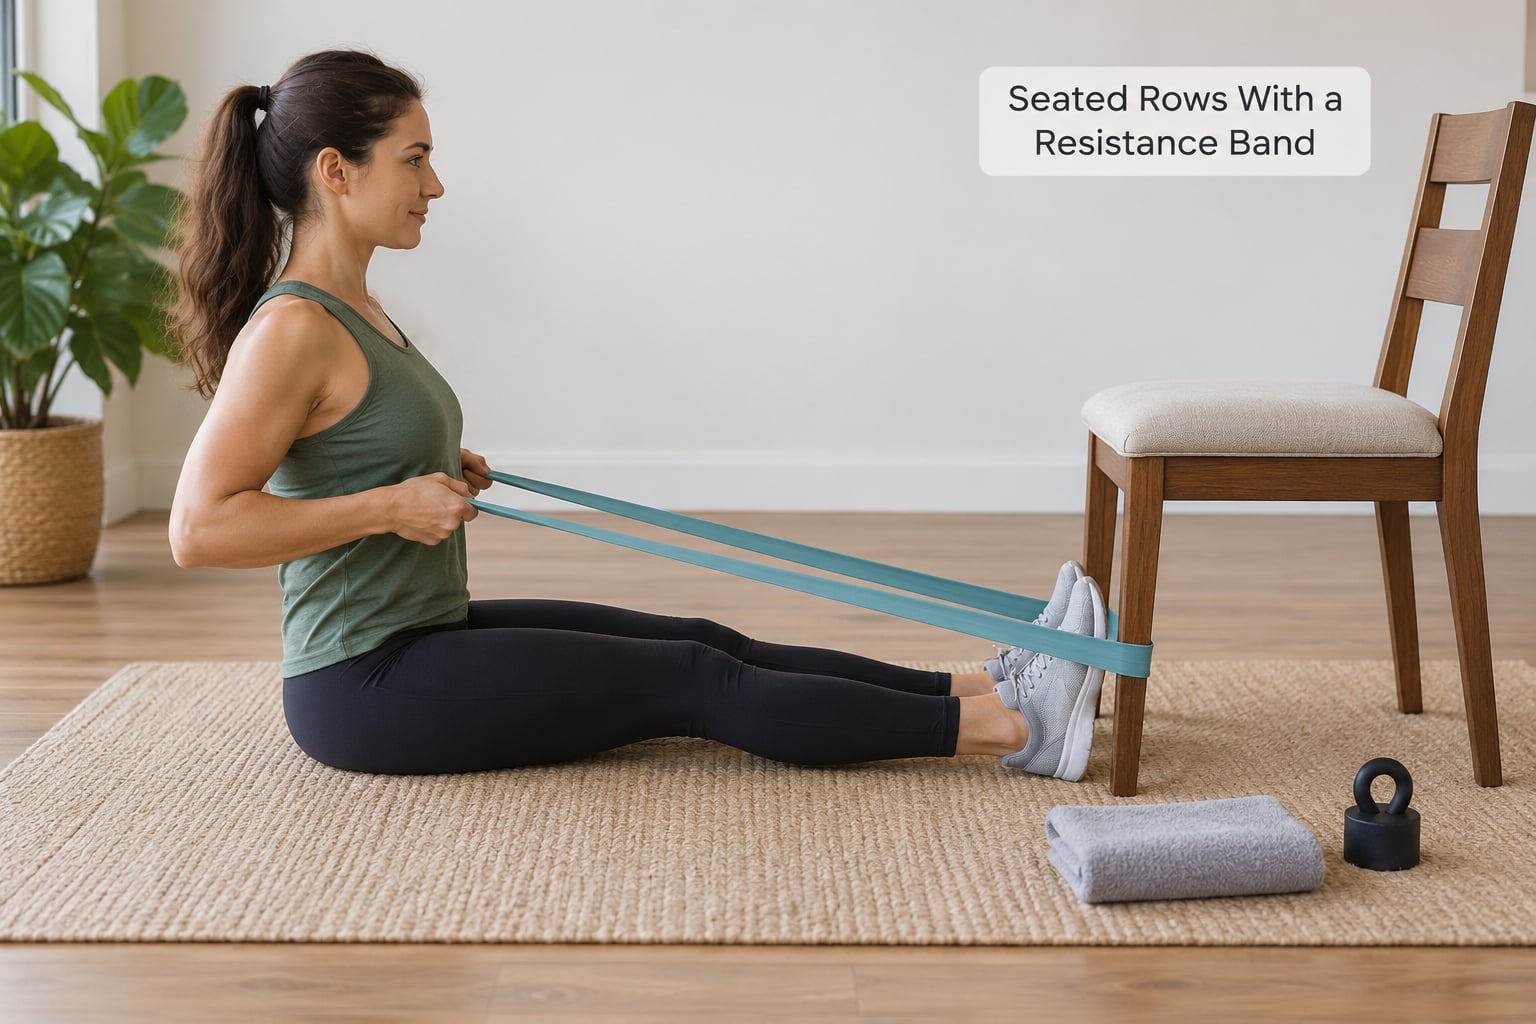
Band rows strengthen the upper back, which is the group people stop using long before they stop needing it. That is one reason posture gets worse with age, and why sitting taller is easier once the mid-back is working.
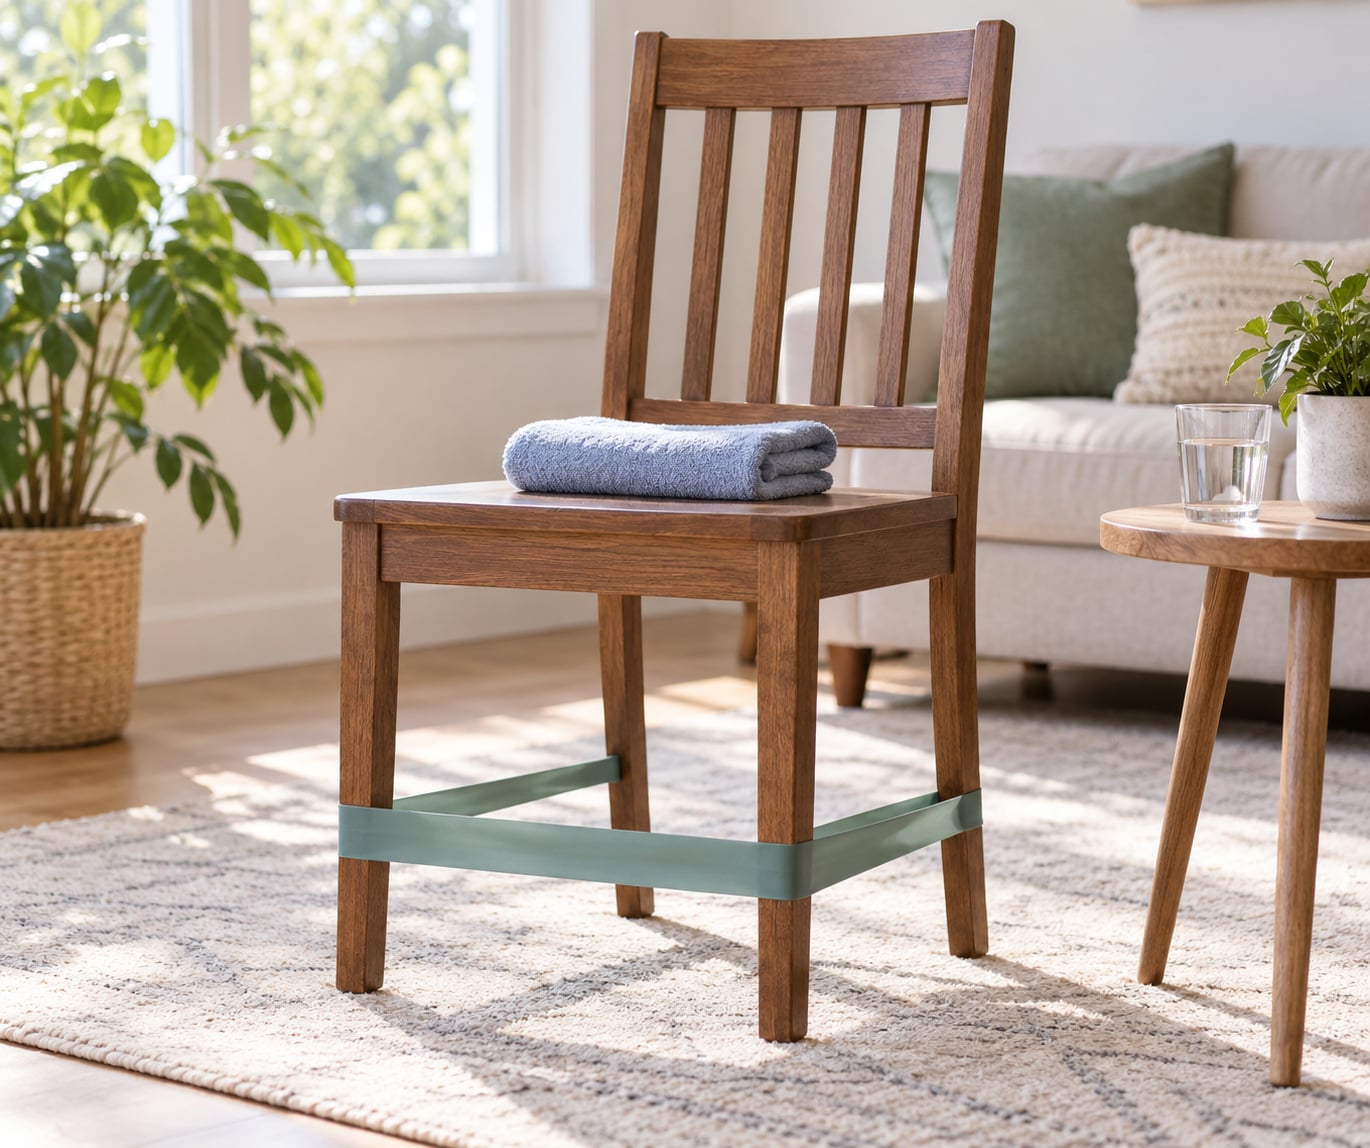
Sit on the front half of the chair. Loop a light resistance band around the chair legs in front of you and hold one end in each hand, or secure the middle of the band under both feet. Sit tall, elbows bent and tucked beside your ribs, then pull your hands toward your waist until your knuckles are near your body. Pause, then return slowly. Twelve repetitions, two sets.
No band? Sit tall, clasp your hands in front of you, and draw one elbow back at a time, or pull against a towel held taut between both hands. That is a real row, just a lighter one. Choose the lightest band available and expect to work up. Stop if the band snaps back or rubs raw skin against your fingers or hands, and never anchor the band at chest height, where a sudden release can hit your face.
9. Seated Overhead Reaches
Overhead reaches restore length through the side body and give you a chance to check how your shoulders move. They are also the easiest way to feel whether you are breathing into your upper chest instead of your belly.
Sit tall, reach both arms up and slightly forward as far as is comfortable without shrugging. Breathe normally and keep your ribs down rather than flaring them forward. Lower back to a comfortable position and repeat. Ten repetitions, two sets.
There is no prize for going higher. If your arms shake, that is the shoulder telling you it has done enough. One-arm reaches, alternating side to side, are a good variation. Bent-elbow reaches, where the hands travel up and down in front of you, suit very stiff shoulders. If you want more range, stand with one hand on the chair back and reach the other arm upward. Shoulders that pinch at the top of the movement need a smaller range, not a push through.
10. Seated Knee Lifts With Optional Reach
Knee lifts combine the core and the hips in one movement, which is why they feel harder than they look. Add an opposite-arm reach and you have a coordination drill that keeps the brain involved, not just the muscles.
Sit tall with your hands on your thighs. Lift one knee a few inches, hold for two seconds while keeping your back straight, then lower it with control. Ten per side. Once that is comfortable, reach the opposite arm toward the lifted knee as you come up, and open the arm as you lower. Both hands stay off the chair arms, which is what makes this a core exercise rather than an arm exercise.
Keep the hold short and the movement slow. Beginners should stay seated and use no weight; a light ankle weight makes the balance demand harder very quickly. If your back rounds or you feel it in your neck, the knee is coming up too high. Lower the range until you can keep your chest tall. Anyone with poor balance should stay in the chair rather than adding a reach.
11. Chair-Supported Mini Squats
Mini squats are the most useful exercise on this list for everyday independence, because getting out of a chair is a mini squat repeated several times a day. They train the quads, the glutes, and the bones of the hip and shin.
Stand in front of your chair with your feet hip-width apart and your toes pointing slightly out. Hold the chair back lightly with both hands. Push your hips back and bend your knees a small distance, keeping your chest lifted, then press through your feet to stand up. Five to ten repetitions, one to three sets.
This is a general exercise, not a treatment plan for a specific condition, so ask a clinician before starting if you have a knee or hip replacement, osteoporosis, or a recent fall. Sit between your body weight and well above it: bend only as far as you can lower with control. As strength improves, the same movement becomes a sit-to-stand, where you hover just above the seat and lower without dropping. Have someone nearby for the first few sessions, and never perform this one without something solid to hold.
12. Seated Leg Kicks and Front Kicks
Leg kicks work the hip flexors and glutes from a supported position, which makes them a good bridge between a purely seated routine and standing work. They are a different movement from the leg extension, even though they look similar from the side.
Sit tall near the edge of the chair. Extend one leg forward, either straight or with a soft bend in the knee, and keep your foot flexed so the toes point up toward the ceiling. Hold for two seconds, then lower the leg slowly. Ten repetitions per side.
A common mistake is kicking up and dropping fast, which does very little. The hold and the slow return are the work. For a progression, hold a light ankle weight or a small household weight around the ankle, but keep your range the same. Keep the chair against a wall for extra stability, and stop the movement short if you feel a pinch deep in the hip joint. Older adults managing arthritis should keep the knee slightly bent, which reduces the load on the joint.
Frequently Asked Questions
How long should a senior do chair exercises each day?
Ten minutes is a solid daily target, and most people build to that within a couple of weeks rather than starting there. A session can be shorter on hard days. A good structure is five or six movements, eight to twelve repetitions each, with a short rest between them. Ten minutes of steady movement beats an hour once a week that never happens.
How often can older adults safely do chair exercises?
Most people can do chair exercises every day, because the intensity is low and the joints are supported. Adult activity guidelines recommend 150 minutes of moderate activity a week plus muscle-strengthening work on two days, and daily chair sessions are a reasonable way to work toward that. Give sore joints a rest day, and stop if pain lasts more than a day or two.
What if I am not steady enough to stand while exercising?
Use the seated versions instead. Of the twelve exercises here, nine can be done entirely sitting, and only the heel raises and mini squats need you to stand. For standing work, put your chair against a wall, keep both hands on the chair back, and have someone nearby at first. Standing with a hand on a chair is still far safer than standing on your own.
How do I know I am exercising at the right level?
Use the talk test. If you can speak a full sentence without pausing for breath, you are at a manageable level. You should feel mild effort in the muscles you are working, not burning, and you should be able to return to your usual breathing within a minute or two after a set. Soreness the next morning is fine; sharp or joint pain is a signal to stop and adjust.
When should I stop exercising and contact a healthcare professional?
Stop immediately and seek advice for chest pain, severe shortness of breath, dizziness, a racing or irregular heartbeat, sharp joint pain, numbness, or anything that feels like a fall is about to happen. Contact your doctor before starting if you have a recent surgery, joint replacement, osteoporosis, or a history of falls, and before you add weight or resistance. A clinician can also tailor the range of motion to your joints.
A Gentle Routine to Start Today
Start with three movements from the seated half of this list: seated marching, seated leg extensions, and arm circles. Do eight repetitions of each, rest between them, and repeat the circuit once. Nothing else.
Then write down how it felt in one line. Easy, about right, or too much. That note is more useful than any rep counter, because it tells you whether to add a fourth movement next week or stay exactly where you are. Add one movement every week until you reach a twenty-minute session, then think about light resistance rather than more exercises.
Five minutes of chair work done most days will do more for how you feel in a year than an hour done twice a month. Start where you are, keep the chair against the wall, and stop before anything hurts.