Progress photos only tell the truth when you shoot them like a controlled experiment: same room, same light, same outfit, same pose, same time of day. That is how to take progress photos for weight loss so the difference you see is a real change in shape, not a trick of shadow or lens distance. Setting the setup up takes about five minutes once, and each session after that takes two.
Standardized progress photos are before-and-after images of yourself taken with the lighting, camera distance, clothing, pose and time of day held constant. Hold every variable fixed except the body, and the camera becomes a control: whatever changed between two shots genuinely changed.
One thing first, because it puts people off more than anything else. Nobody has to take these photos in their underwear, and nobody has to share them with anyone. Plenty of people track progress in a fitted T-shirt and joggers, keep the folder locked on their phone, and never post a single frame.
Table of Contents
- What You Need
- Step-by-Step: How to Take Progress Photos That Actually Compare
- How to Take Progress Photos: Set Up a Consistent Shot
- Wear the Same Fit or Comparable Clothing
- Use a Natural, Comfortable Standing Pose
- Take One Photo from Each Standard Angle
- Check Focus and Crop Before Moving
- Save and Label Every Photo Consistently
- Compare Progress Without Daily Self-Criticism
- Common Mistakes That Make Weight Loss Progress Photos Useless
- Frequently Asked Questions
- How often should I take progress photos for weight loss?
- Do I need to take progress photos in underwear?
- What should I wear for weight loss progress photos?
- Why don’t my weight loss progress photos show much difference?
- How can I store weight loss progress photos privately?
- Conclusion
What You Need
You need almost nothing. The whole list below is cheap, and most of it is already in a drawer at home.
- A phone with a working rear camera. The rear lens holds more detail than the selfie camera, which matters when you are zooming in on your waist later.
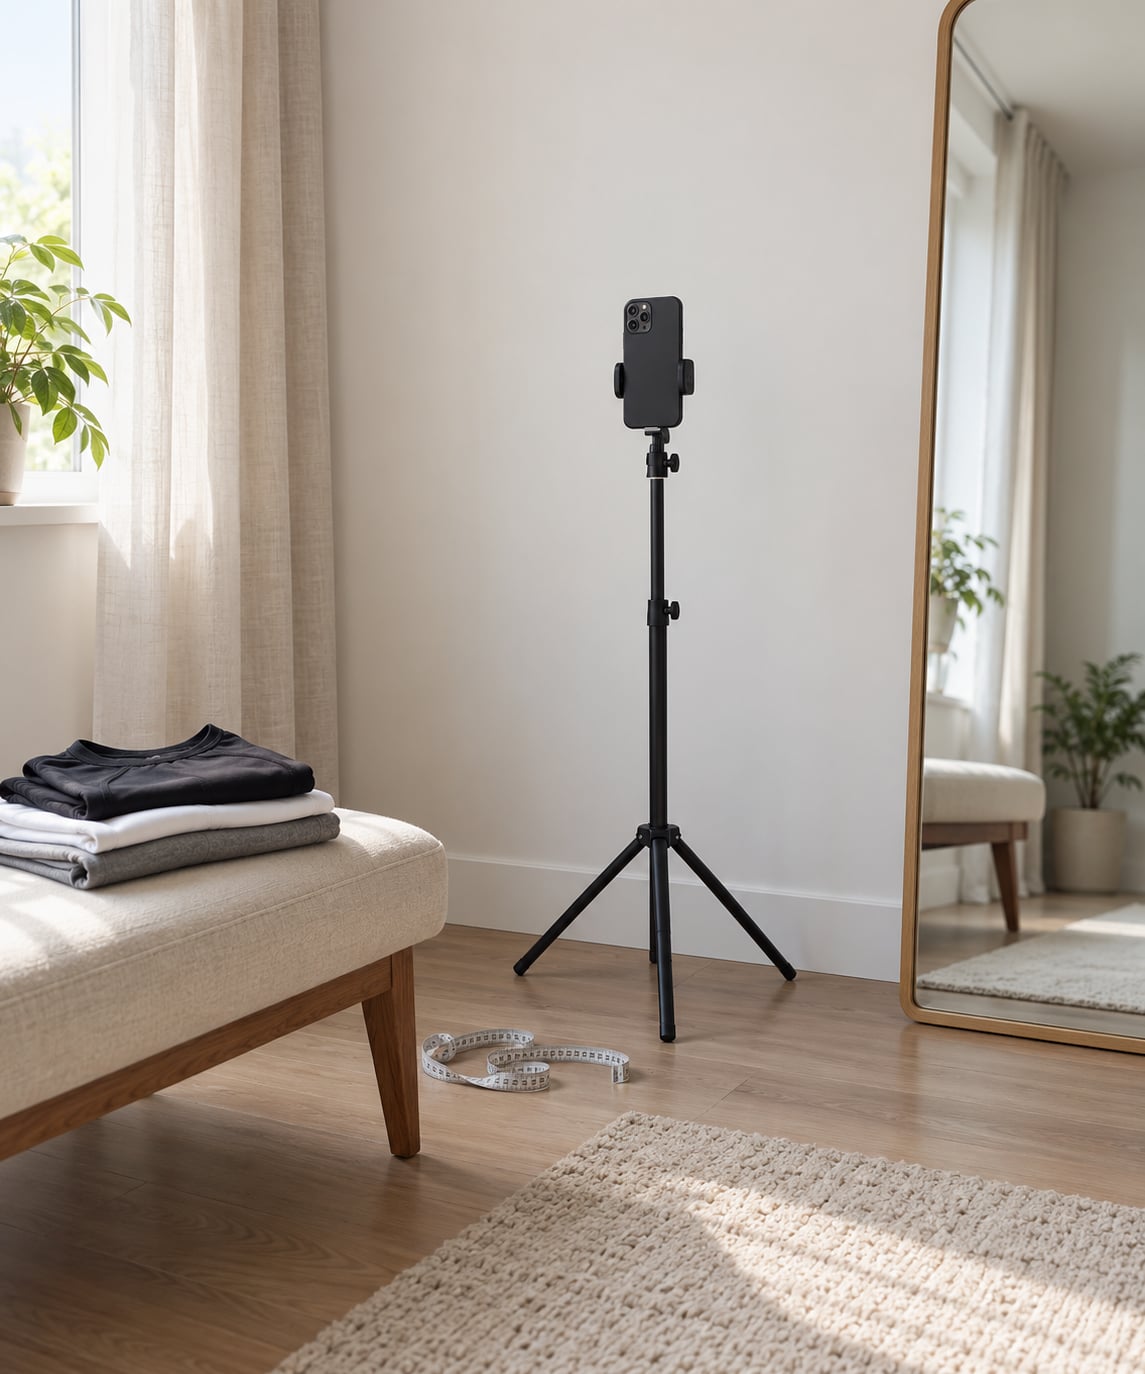
- Something to hold the phone still. A small phone tripod, a shelf, a sturdy box, or a stack of books pressed against a wall. Free and it does the same job.
- A plain wall or door, and a full-length mirror if you want a side view in the mirror instead of rotating.
- One outfit you keep wearing. Fitted is better than loose, and the same thing every time is best of all.
- Even light. A window with the light falling on you, or two lamps angled at the same wall. Avoid a single overhead ceiling light, which puts shadow under everything.
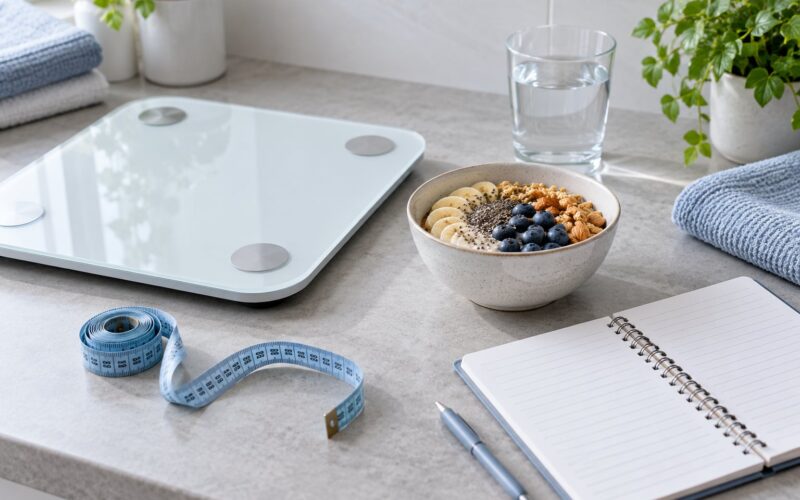
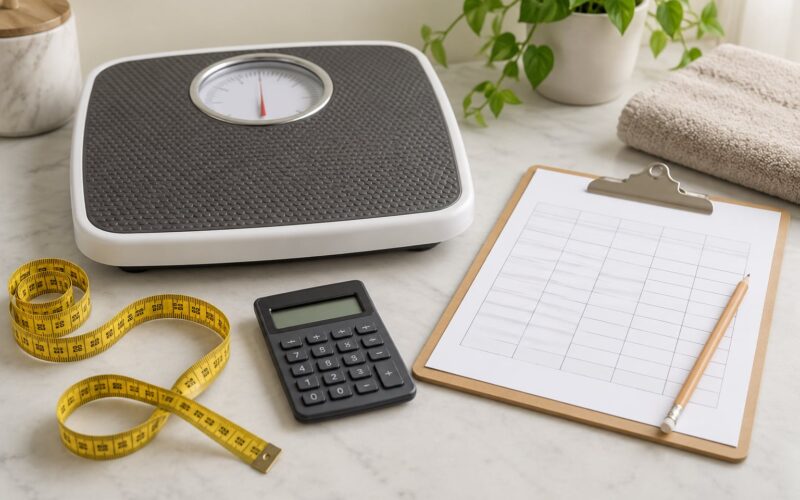
- A tape measure and a scale. Photos show shape. Numbers catch changes that shape hides.
- A recurring calendar reminder. Most people forget, and then wonder why the series has gaps in it.
Once you have that, decide the spot and never move it. A corner of the same room works fine; consistency beats a beautiful backdrop.
Step-by-Step: How to Take Progress Photos That Actually Compare
Do the first session twice. Shoot everything, look at the frames, fix what is off, then throw those test shots away and start the real series. Ten extra minutes at the beginning saves you from a year of unusable photos.
How to Take Progress Photos: Set Up a Consistent Shot
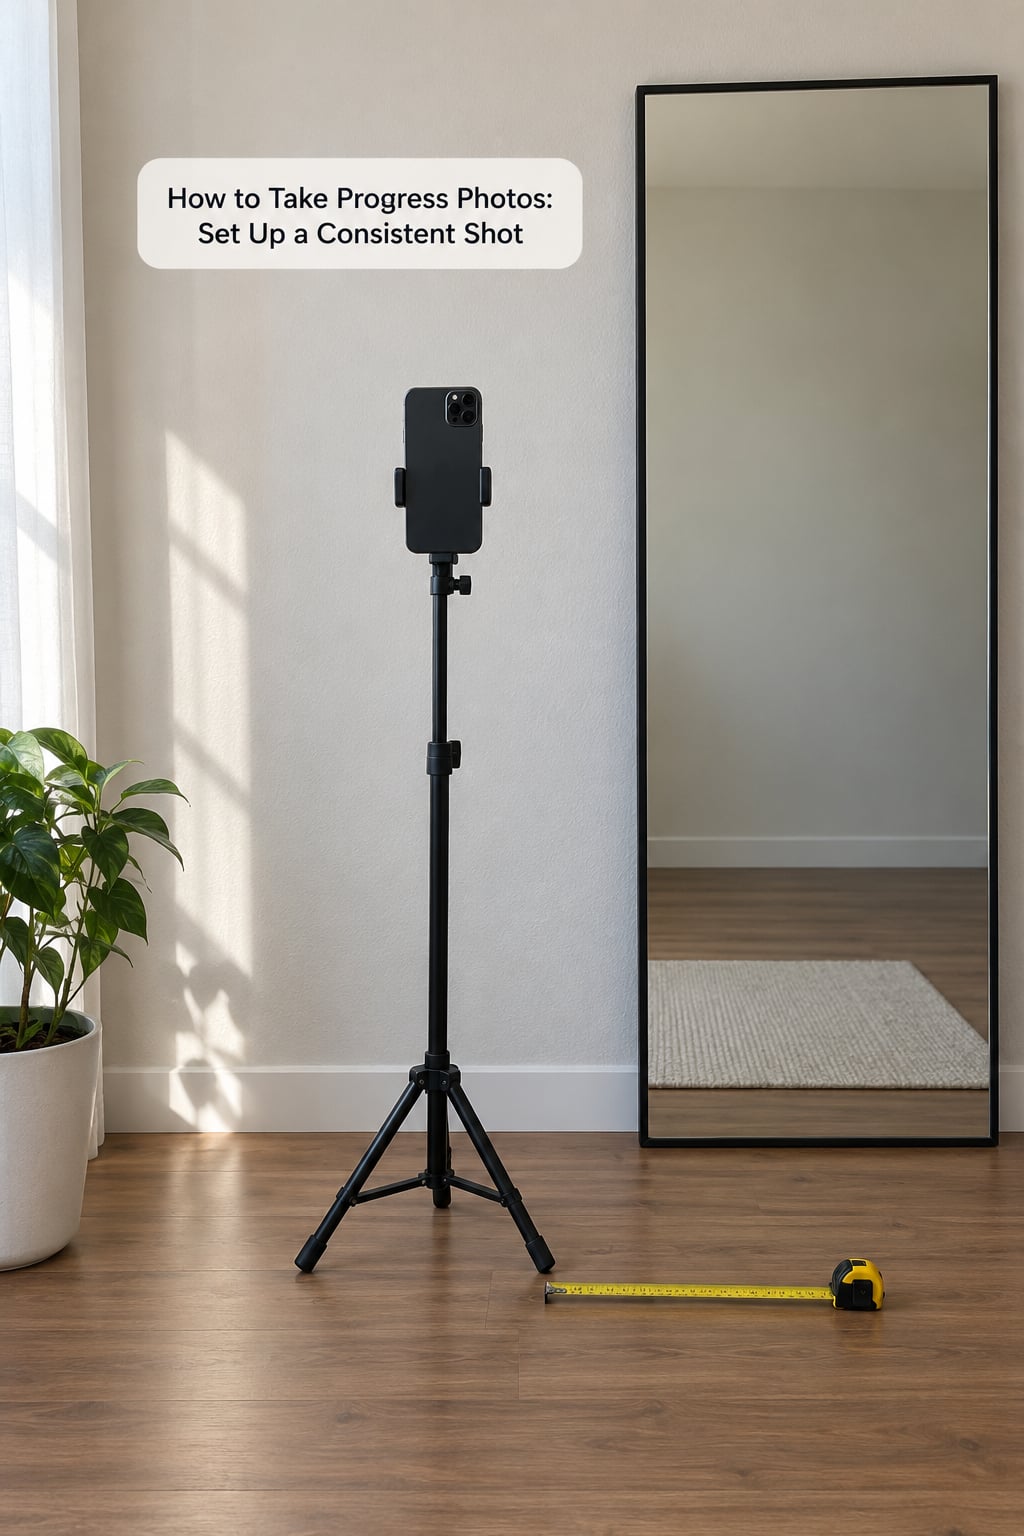
Put the phone at chest height, not at your face and not low near your knees. A camera above your eyes looks down and distorts the torso, and a camera near your waist flattens your shoulders. Mark the spot on the floor with a strip of tape or a single shoe, so you put the phone back in exactly the same place next month.
Stand far enough back that your whole body fits with a little room above your head and below your feet. If you have to zoom, zoom first and then re-take the shot, because digital zoom crops detail and the crop may sit differently later.
Turn on the camera gridlines while you set up, line your feet up with the vertical lines, and check your framing before you strip down to whatever you are wearing. Test with your everyday clothes on.
Wear the Same Fit or Comparable Clothing
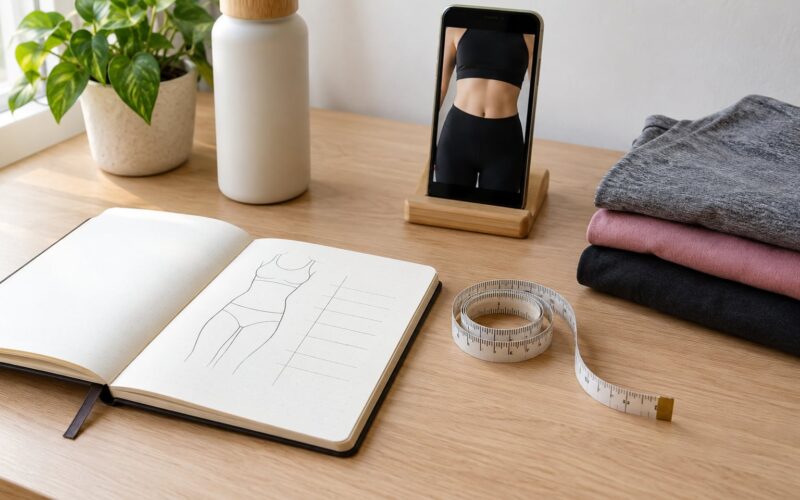
Fitted activewear or a form-fitting everyday outfit works best, because loose fabric and thick knitwear hide exactly the changes you are trying to see. Dry clothing matters more than the label.
Same outfit, same color, same fabric every session. If a garment stretches, gets see-through, or changes color after washing, swap it for a second identical set and keep both in the same drawer. If the waistband sits at a different place each time because of how you woke up that morning, mark it with your thumb before the shot.
Use a Natural, Comfortable Standing Pose
Feet hip-width apart, arms hanging at your sides, shoulders level, weight spread evenly across both feet. That is the neutral pose, and it is the one you use in every single photo.
Resist the urge to twist, arch your back, pull your stomach in, or lift one shoulder. Those poses slim the photo and ruin the comparison, because next month you will stand the honest way and feel like you went backwards. Take the front, side and back views from the same relaxed stance. You can add one flexed or front-plank pose at the end if you like, but label it separately and never compare it against the neutral shots.
Take One Photo from Each Standard Angle
Three angles, every time: front facing the camera, side with your shoulder closest to the lens, and back. Keep the lens at the same chest height for all three, and pause about a second after the shutter so the frame is past the point where you shifted.
Exhale normally, let your shoulders drop, and do not hold the phone in the shot. If you are using the timer, count out loud so you stop moving at the same moment each time. A fourth shot from the other side is fine if you always take it, but three is the useful minimum.
Check Focus and Crop Before Moving
Before you step out of frame, check four things: the whole body is visible, the image is sharp rather than motion-blurred, the lighting and stance match the setup you tested, and the date is visible somewhere in the frame. Keeping the date visible saves a lot of guessing later.
If one frame is out of focus, retake that one shot alone. Do not start over, do not adjust the camera, and do not change the light. Fixing a single bad frame keeps the rest of the set comparable.
Save and Label Every Photo Consistently
Use a filename pattern that sorts itself, something like 2026-03-15-82-4kg, with the year and date first and your scale weight last. It sounds fussy and it saves you twenty minutes the next time you try to find the January set.
Keep the originals. No cropping, no color filters, no straightening beyond what the phone does to every frame equally. Add a short note next to each session recording the outfit, the time of day, anything unusual that week, and whether you were in a different phase of your menstrual cycle, since fluid shifts there can hide real fat loss for a fortnight.
Compare Progress Without Daily Self-Criticism
Look at the series every two to four weeks, not every morning. Daily comparison is where people get discouraged, because two weeks of effort rarely looks like two weeks of change on a photo.
Compare consistency first: same light, same pose, same clothes. Then look at overall shape, posture, how the waistband sits, whether you can see more definition in your shoulders or arms. Remember that water retention, bloating, muscle gain, lighting and camera distance can all shift the picture in ways that have nothing to do with fat loss, so treat any single comparison as data rather than a verdict. The scale trend, tape measurements, your strength in the gym, your energy and the way your clothes fit should stay the main record, with photos as the supporting evidence.
Common Mistakes That Make Weight Loss Progress Photos Useless
Almost every disappointing set comes down to one of these. Each one changes something other than your body, and that is exactly what makes the comparison misleading.
| Mistake | Why it distorts the comparison | The fix |
|---|---|---|
| Using a filter or editing the photo | Smooths and reshapes the body in a different way every time | Shoot raw and keep the original file |
| Mirror selfies | Flip the image and crop it to the best-looking half | Use the rear camera on a timer |
| Different clothes each session | Loose or dark garments hide the change you came to see | One identical fitted outfit, kept in one drawer |
| Flexing or posing for the camera | Tightens and arches the body beyond a neutral stance | Neutral pose for every shot, flexed set kept separate |
| Camera held high or low | A downward angle shortens you, a low one stretches the torso | Lens at chest height, marked on the floor |
| Harsh or overhead lighting | Carves shadows that look like shape change | Even light from the front, same every time |
| Digital zoom instead of stepping back | Crops detail and may crop differently next time | Walk back until you fit, then shoot |
| Feet cut off by the frame | Changes proportions and hides the hips and ankles | Leave space below your feet in every frame |
| Comparing photos taken at different times of day | Later-day photos carry more shadow and bloat | One fixed time, early morning works well |
| Comparing across cycle phases or illness | Fluid retention masks real fat loss for days at a time | Compare photos taken in similar conditions |
On storage, keep one private folder, one naming pattern, and one backup. Photos get lost when a phone is replaced or an account is closed, so copy the set to a private cloud folder or an external drive you control. In the bigger weight loss communities the question people ask most often is which free app simply stores and displays pictures; photo uploads inside a food diary app come up as a partial workaround, and dedicated progress-photo apps are the other common answer.
Before you share any of it, decide whether you want to. Public before-and-after posts attract comments, most of them unhelpful, and you have not signed up for that. Private tracking works for almost everyone and costs nothing.
None of this is medical advice, and photos are optional. If weight loss is part of a health condition, if you are on medication, or if the process is affecting how you feel about your body, talk to your doctor or a registered dietitian rather than tracking it alone. Skipping photos entirely is a perfectly good option if they make the journey harder.
Frequently Asked Questions
How often should I take progress photos for weight loss?
Every two to four weeks is the sweet spot. Monthly is the most common cadence people use and it survives plateaus, because there is enough time for real change to show. Weekly works if you are disciplined, but daily photos usually backfire and make you feel discouraged. Pick a date each month, put it in your calendar, and stick to it even when the scale has been flat.
Do I need to take progress photos in underwear?
No. Underwear is common in weight loss communities, but it is not a requirement and it is not better data. The same fitted T-shirt and leggings you train in will show you everything you need, and many people find skin exposure genuinely uncomfortable. If photos in your underwear make you feel worse about your body, that is a reason to stop, not a reason to push through.
What should I wear for weight loss progress photos?
The same fitted outfit every session, ideally in a color and fabric that do not hide much. Dry activewear or a form-fitting T-shirt with leggings or joggers works well. Avoid thick knitwear, shapewear, and anything loose at the waist. Whatever you choose, wear it the same way each time so the waistband sits in the same place, and keep one backup set in case the first one stretches or fades.
Why don’t my weight loss progress photos show much difference?
Usually the photos are comparing different things rather than the photos being wrong. Two weeks of effort rarely changes shape much, and water retention, bloating, muscle gain, a different time of day, or a camera two inches closer can all hide real fat loss. Check that the light, distance, outfit and pose match, then wait a full cycle before judging. Your tape measurements and how your clothes fit are more reliable than a fortnightly comparison.
How can I store weight loss progress photos privately?
Keep them in one locked, clearly named folder on your phone and copy each session to a private cloud folder or an external drive you control, so the series survives a lost phone. Use a filename pattern that sorts by date and avoids guessing later. Turn off automatic photo syncing to shared albums, and skip posting publicly unless you actively want the attention. Photos are your private record, not something you owe an audience.
Conclusion
Mark one camera position on the floor today, pick the same time of day, and shoot the baseline set this week: front, side and back, neutral pose, same fitted outfit, same light. Then set a recurring monthly reminder and let the series build.
Keep the rest of the record honest alongside it. Weigh-in trends, waist and hip measurements, how much you lift, how you feel and how your clothes fit tell the fuller story, and those are the numbers to keep the series for the rest of 2026.