Learning how to stock a healthy pantry from scratch comes down to eight food categories and a staged plan, not one giant shopping trip. Start with about 15 versatile items you will actually cook with, then add a few each month as you learn what your household finishes. The whole setup takes a weekend, costs less than you expect, and pays back every time you skip takeout.
I built my first pantry the slow way. Bought too much, watched good food expire in the back of a shelf, and learned the fix: buy for meals you already know how make, not for recipes you might try someday.
Below is the process I use, broken into eight steps, with the label reading, storage times and restocking habits that make it hold up.
Table of Contents
- What You Need
- Step-by-Step: How to Stock a Healthy Pantry From Scratch
- 1. Assess Your Space and Eating Habits
- 2. Choose a Balanced Pantry Foundation
- 3. Make a Starter Shopping List
- 4. Shop for Versatile, Long-Lasting Foods
- 5. Check Labels and Build Balanced Defaults
- 6. Organize Foods for Easy Use
- 7. Store Everything Safely
- 8. Maintain and Restock Your Pantry
- Common Mistakes
- Frequently Asked Questions
- What are the most important foods to stock in a healthy pantry?
- How much does it cost to stock a healthy pantry from scratch?
- How long should pantry staples last before they need to be replaced?
- Should frozen foods be included when building a healthy pantry?
- How can I organize a small pantry without buying expensive containers?
- What should I buy first if I am starting with almost no food?
- Conclusion
What You Need
You need very little to begin, and none of it has to be expensive.
- A tape measure to know how much shelf space you actually have before you promise yourself a haul.
- Six to ten containers in two or three sizes, glass if you have them. Cans work fine for the first month.
- A marker and masking tape or label stickers for dating everything you pour into a bin.
- Two baskets or pull-out bins so you can pull a whole zone forward instead of stacking cans eight deep.
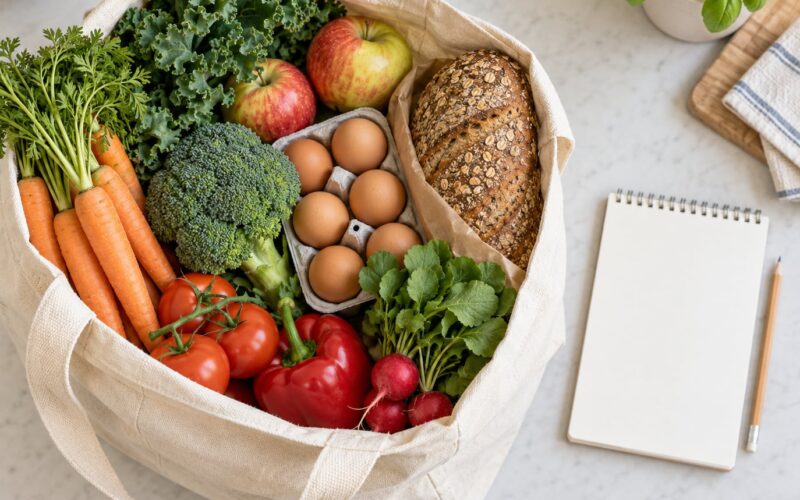
- A notebook, notes app or phone photo of the pantry door as your inventory. Whatever you will actually look at wins.
- One hour of uninterrupted time and a trash bag for the clean-out.
Before you shop, sketch the categories you want to cover: shelf-stable vegetables and fruits, whole grains, legumes, lean proteins, healthy fats, sauces and vinegars, snacks, and something to drink. Planning the categories before the cart keeps you from coming home with eight kinds of pasta and no beans.
Step-by-Step: How to Stock a Healthy Pantry From Scratch
This method runs in four stages: assess, choose, shop, then organize and maintain. Each stage feeds the next, so skipping ahead usually means buying twice. Work through the eight steps in order the first time.
1. Assess Your Space and Eating Habits
Measure first, buy second. Most beginner pantries fail on shelf space, not on food choices.
Measure the width and depth of every shelf and closet area you plan to use, then subtract about two inches for airflow. Group shelves by what they can hold: a deep bin shelf takes five-pound bags of beans, a shallow shelf takes spices and small jars, and the inside of a cabinet door is good for flat packets like oats or tortillas.
Next, be honest about who eats in your house. Two adults cooking six nights a week need about twice the volume of one person cooking three nights. A household of one should skip the five-gallon flour sack and start with a two-pound bag that fits behind the rice.
People on the r/fromscratch and r/cookingforbeginners boards repeat the same lesson: buying for the meals you already make beats building an aspirational pantry you never cook from.
2. Choose a Balanced Pantry Foundation
A healthy pantry has eight working categories, and each one covers a different nutritional gap.
- Shelf-stable vegetables: crushed or diced tomatoes, coconut milk, carrots in juice, corn, beets, spinach. Canned and frozen produce keeps most of its nutrients and costs a fraction of fresh.
- Dried and shelf-stable fruit: applesauce with no added sugar, dried berries, raisins, apricots, unsweetened coconut flakes.
- Whole grains and starches: brown rice, quinoa, oats, whole-grain pasta, corn tortillas, couscous, barley. Two or three are enough to start.
- Legumes: black beans, chickpeas, lentils, cannellini beans, split peas. Buy a few cans for weeknights and a two-pound bag of dry for cooking from scratch.
- Lean and shelf-stable proteins: canned tuna and salmon, eggs, plain Greek yogurt, freeze-dried soups, nut butters, protein-packed oats.
- Healthy fats: olive oil, avocado oil, nut butters, raw nuts, chia, flax and pumpkin seeds, tahini.
- Sauces and flavor builders: soy sauce or tamari, vinegar, mustard, salsa, tomato paste, curry paste, coconut aminos.
- Snacks and drinks: popcorn, roasted chickpeas, whole-grain crackers, dried fruit, nut mixes, and a shelf-stable drink such as coffee, tea or powdered milk.
Spices sit outside these eight and deserve their own shelf. Smoked paprika, cumin, cinnamon, garlic powder, chili flakes and oregano turn the same can of beans into a different dinner each time of the week.
3. Make a Starter Shopping List
A first trip needs 10 to 15 items, and the list below works for one or two people.
- Two cans each: crushed tomatoes, black beans, chickpeas, coconut milk
- Two bags: brown rice or quinoa, rolled oats
- Two jars: peanut or almond butter, no-added-sugar applesauce
- One bag each: raw nuts, seeds such as chia or flax
- Two bottles: olive oil, vinegar
- One small can: tuna or salmon
- One box: whole-grain pasta or corn tortillas
- One frozen bag: mixed vegetables
That list gives you breakfast, lunch and dinner options without a plan. For a tight budget, buy the largest sensible size of the four items you eat most and the smallest size of everything else. Store-brand canned goods and dry beans from bulk bins are the cheapest path to the same nutrition.
Dietary needs change the list, not the categories. Gluten-free swaps rice for millet or quinoa, tofu for canned fish, and coconut milk for dairy in sauces. Celiac or allergy conditions need labeled products and clean tools, so check with your doctor or a registered dietitian before building around them.
4. Shop for Versatile, Long-Lasting Foods
Buy the format that keeps longest and cooks in the fewest steps.
Dried beans and grains keep for a year or more and cost less per serving than canned, but they need soaking time. Canned beans are ready in five minutes and keep about two years unopened. Frozen vegetables keep their nutrients for around a year and skip the soaking and draining entirely. Shelf-stable milk, tomatoes in carton or pouch, and nut butter bridge the gap for people without freezer space.
The practical test is how many meals one item can become. A can of chickpeas becomes a salad, a soup, a curry, a snack roasted with spices, or a mashed spread. A bag of specialty pasta becomes one meal and then sits in the back of the shelf for eight months. Ask that question before anything goes in the cart.
5. Check Labels and Build Balanced Defaults
Read three things on the label and you have most of what you need: serving size, fiber and added sugars, plus sodium if you are watching it.
Serving size tells you whether the numbers on the panel mean anything to you. A can with 12 grams of sodium per serving across three servings is a different food than one with 480 milligrams in half a can.
For grains, check that “whole” or “whole grain” appears first on the ingredient list. Whole wheat pasta and brown rice carry more fiber than white versions and keep you full longer, so they are the better default even if you are not avoiding anything.
For canned goods, look for “no salt added” or “low sodium” and rinse beans in a colander, which washes away a good share of the sodium. For anything sweet, added sugars are listed separately now, and a jar of applesauce with four grams is a different breakfast than one with twenty.
Keep this practical rather than rigid. If a food you love has sugar in it, it can stay in the pantry as long as it plays a supporting role instead of the main event.
6. Organize Foods for Easy Use
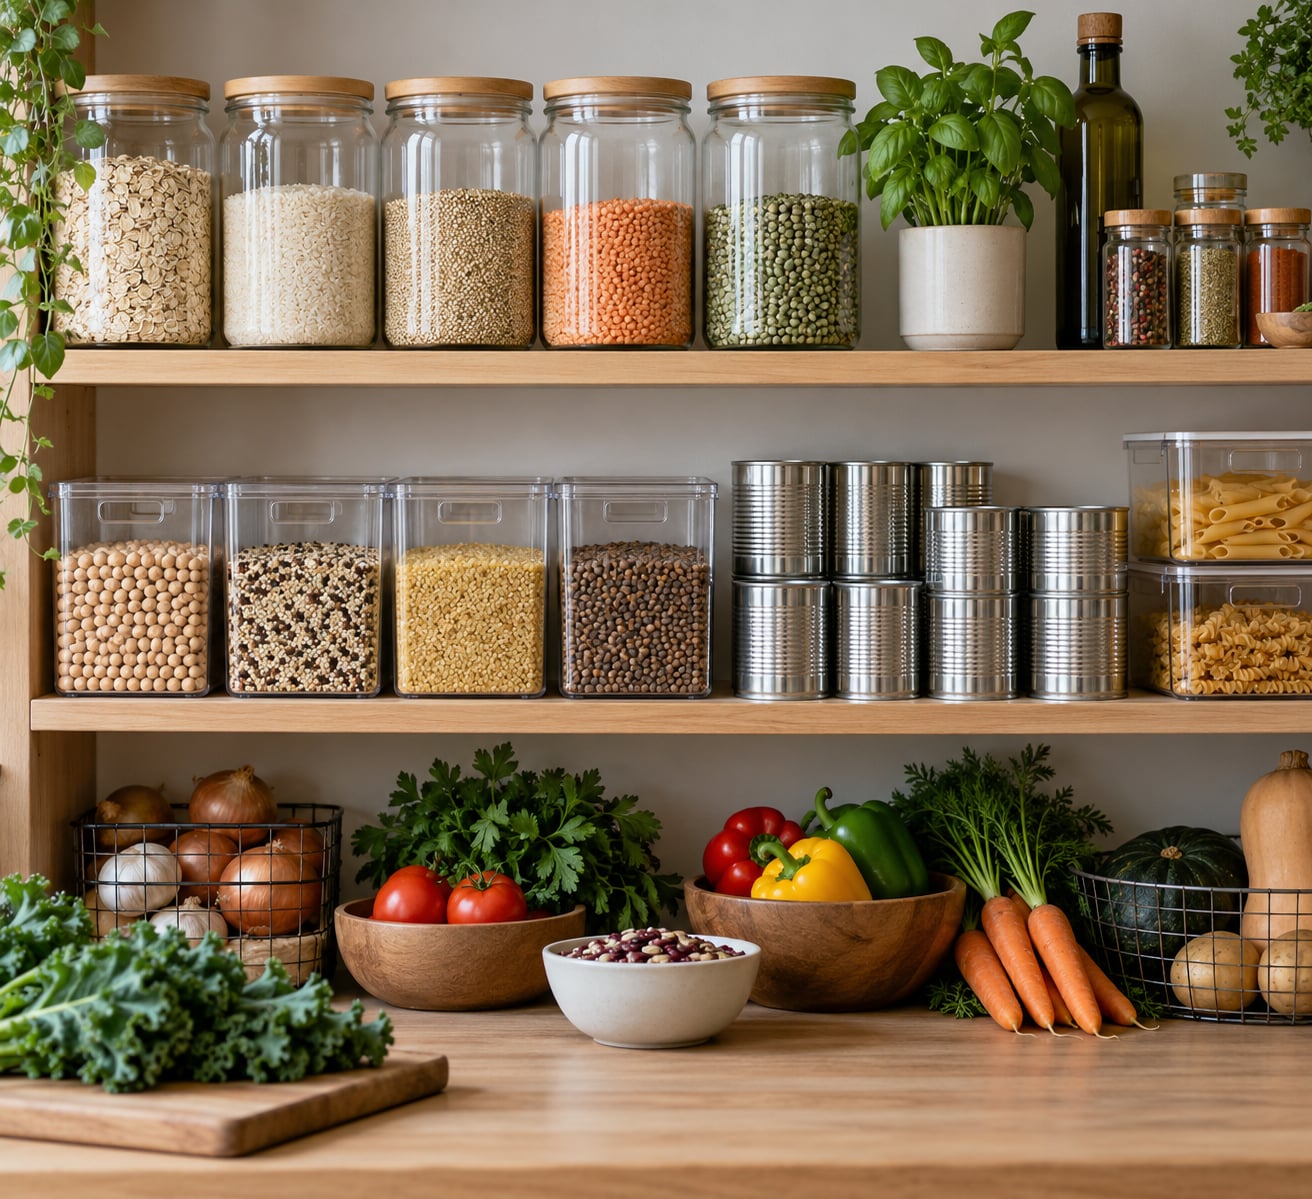
Six zones keep a pantry usable, and each zone gets one container or shelf.
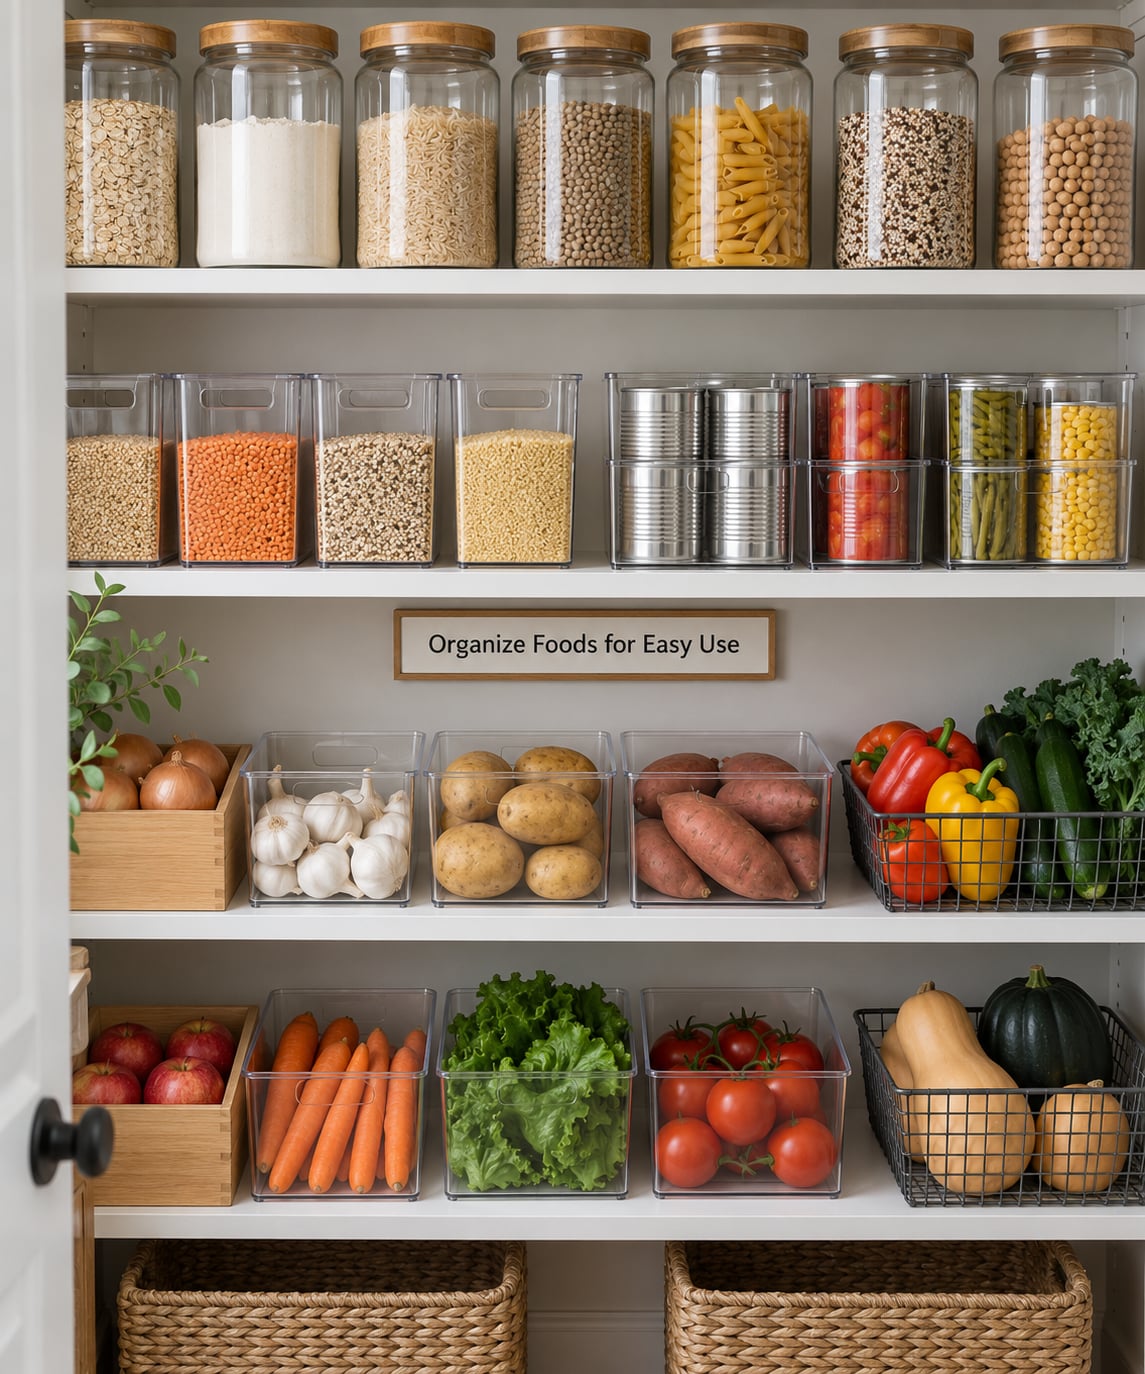
Zone one, breakfast and snacks: at eye level, so oats, nut butter, fruit and crackers are the first things you see.
Zone two, grains and pasta: heavy bags on the lowest shelf where they are easy to lift and will not fall.
Zone three, canned goods and proteins: in one bin, newest cans stacked at the back so older ones get used first.
Zone four, oils, vinegars, sauces and spice jars: grouped on a door shelf or small pull-out bin that you can carry to the stove.
Zone five, baking and specialty: flours, baking powder, coconut flakes and anything you use monthly.
Zone six, overflow and backups: the second can of everything, refilled as you use the first.
Label each bin with its zone and date anything you opened or poured from a bag. Clear containers beat opaque ones every time, because you can see what is running low without pulling everything out. A phone photo of the finished shelves is enough of an inventory for most households, and it takes ten seconds to update after each shop.
7. Store Everything Safely
Store dry goods cool and dark, keep refrigerated and frozen items separate, and follow the manufacturer’s instructions when they differ from general guidance.
Realistic times after opening, assuming cool, dry storage and airtight containers: white rice and rolled oats about six months, brown rice and quinoa six to twelve months, dried beans and lentils about a year, whole nuts and nut butter three to six months, ground spices six to twelve months and whole spices considerably longer, and oils six months to a year depending on the oil.
Transfer dry goods out of bulky factory bags into containers you can actually seal. Paper sacks leak moisture, and moisture is what makes flour smell musty and nuts turn rancid.
Refrigerate opened nut butters, and check for rancidity by smell before using them. Do not keep canned goods that are bulging, leaking or rusting, and do not keep food at room temperature after a can has been opened and chilled without freezing it.
For cooking safety, follow the standard internal temperatures: 165°F / 74°C for poultry, 160°F / 71°C for ground meat, and 145°F / 63°C for whole cuts and fish. When anything is unclear, go with USDA food safety guidance and the package directions.
8. Maintain and Restock Your Pantry
A weekly five-minute check keeps the pantry stocked and stops waste before it starts.
Look at your pantry door photo or notebook and ask three questions: what is running low, what is about to expire, and what did you cook this week that you want again? Add only the first two lists, and skip anything you did not cook in the last month.
Rotate instead of restocking in one big trip. When you use the last of the rice, write it on the list rather than re-buying it in the aisle on impulse. Cook extra on purpose: a full pot of beans or chili on Sunday becomes two lunches and part of a dinner later in the week.
Many home cooks in r/EatCheapAndHealthy treat Friday as a shop-your-pantry night. Build dinner from what is about to expire, then shop for the gaps. It is the single easiest way to stop throwing food away.
Set a seasonal rhythm too. Restock grains, legumes and canned tomatoes in the colder months when they are used constantly, and refresh spices, oils and fresh or frozen produce each season as you rotate through them.
Common Mistakes
Most wasted pantries come from six fixable habits.
Buying specialty items too early. A shelf with five flours and one everyday flour is the result. Fix: one per type, and only after you have cooked two meals with what you own.
Ignoring freezer space. The freezer is the second half of a pantry and holds more nutrients than most canned goods. Fix: dedicate one shelf or drawer to frozen vegetables, broth, bread and overripe produce.
Storing foods in the wrong place. Potatoes and onions together make both spoil faster, and spices next to the stove lose potency. Fix: keep root vegetables separate, and spices in a cabinet away from heat.
Trusting front-of-package claims. Words like natural and clean tell you very little. Fix: flip the box and read the ingredient list and the added sugars line, which is where the real story sits.
Skipping portion planning. Ten cans of chickpeas is not variety. Fix: buy two, use them in two different meals, then buy more if they earned it.
Forgetting to rotate. Fix: newest to the back, oldest to the front, and a weekly look at the door photo. It takes a minute and it is the difference between a useful pantry and a science experiment.
Frequently Asked Questions
What are the most important foods to stock in a healthy pantry?
Start with canned tomatoes, black beans, chickpeas and coconut milk, plus brown rice or quinoa, rolled oats, one nut butter, olive oil, vinegar, tuna and a few spices. Those 12 items cover breakfast, lunch and dinner. Add frozen vegetables and a second grain once you cook through the first batch.
How much does it cost to stock a healthy pantry from scratch?
The total depends on household size and how much you already own, but a 10 to 15 item starter list for one or two people is far less than a month of takeout. The bigger lever is where you shop: store-brand canned goods, dry beans, and bulk-bin grains and nuts cost noticeably less. Buy in four stages and the cost spreads out.
How long should pantry staples last before they need to be replaced?
After opening, in cool dry storage with airtight containers, expect roughly six months for white rice and rolled oats, six to twelve months for brown rice, quinoa and dried beans, three to six months for nuts and nut butter, and six to twelve months for ground spices. Always follow the package instructions, and toss anything that smells rancid or musty.
Should frozen foods be included when building a healthy pantry?
Yes. Frozen vegetables and fruit are picked and frozen at peak ripeness, so they hold their nutrients well and last about a year. They also stop you from throwing out soft produce. Give the freezer one dedicated shelf or drawer for vegetables, broth, bread and overripe fruit, and treat it as part of the pantry rather than overflow space.
How can I organize a small pantry without buying expensive containers?
Use what you have: clean cans with the labels turned in, a washable produce basket, and free jars saved from pickles and sauces. Two pull-out bins from the dollar section do most of the work of expensive organizers. Label with masking tape and a marker, keep heavy cans low and light foods high, and skip buying new containers until you know what shape your shelves actually need.
What should I buy first if I am starting with almost no food?
Buy six things: canned tomatoes, canned beans, dry rice, rolled oats, olive oil and one spice such as cumin or smoked paprika. With pantry basics plus eggs, an onion and a handful of fresh vegetables you can eat well for a week. Then add a nut butter and a yogurt, and keep buying only what you actually cooked before the next shop.
Conclusion
Knowing how to stock a healthy pantry from scratch comes down to measuring your space, choosing one item per category you will genuinely cook, and building in stages rather than all at once. The organization and label reading matter just as much, because a pantry you can see is a pantry you actually use.
Pick your zones this week, buy the 10 to 15 item starter list, and cook your way through it. Add one or two items each time you run out of something you used twice. That is the whole method, and by the second month it feels less like a project and more like a habit.