Crunches train one narrow thing: bending the spine toward the chest. Your core does far more than that. It braces during every lift you make, transfers force between your legs and your arms, and keeps your ribs stacked over your pelvis. Core exercises that are not crunches train the bracing instead of the bending, and almost all of them need nothing but a floor and about ten minutes.
That matters if crunches have ever left you sore in the neck, the lower back or the front of the hips rather than in your abs. It also matters for the exercises you care about: a stable trunk is what lets you squat, deadlift, run and carry groceries without the spine wobbling. Below you will find twelve movements, what each one trains, how to do it, and how to make it easier or harder. Every one works with a neutral spine.
Nothing here is medical advice. If you have an existing back, neck or shoulder injury, are pregnant, or have given birth recently, check with a doctor, a physiotherapist or a qualified trainer before adding new loading to your week.
Table of Contents
- Core Exercises That Aren’t Crunches at a Glance
- 1. Dead Bug: the best starting point for deep core stability
- 2. Bird Dog: core stability that supports your spine and your balance
- 3. Glute Bridge: posterior-chain strength with the ribs down
- 4. Plank: the anti-extension benchmark, done properly
- 5. Side Plank: lateral strength and a quieter lower back
- 6. Pallof Press: the strongest anti-rotation exercise most people skip
- 7. Mountain Climbers: core work that doubles as cardio
- 8. Bear Hold: full-body tension and serious core endurance
- 9. Bird-Dog Rock Back: control under a moving load
- 10. Standing March: the most accessible entry point
- 11. Suitcase Carry: anti-side-bending strength for real life
- 12. Farmer Carry: the simplest loaded core move there is
- How to Choose a Crunch-Free Core Routine
- Start with your goal, not with a fitness trend
- The 10-minute no-equipment circuit
- If you hate planks, use these instead
- Modifications for knees, joints and postpartum
- Five form mistakes worth fixing
- How often to train, and how to progress
- Frequently Asked Questions
- What exercises can replace crunches?
- What are the big 3 exercises for the core?
- How do I strengthen my core with bad knees?
- Why does my lower back hurt during planks?
- How many times a week should I train my core?
- Will crunch-free core exercises give me visible abs?
Core Exercises That Aren’t Crunches at a Glance
Use this table to pick before you start reading. Difficulty assumes you can hold a steady position on the floor; spinal position tells you how much the movement bends or rotates your back.
| Exercise | Main muscle trained | Difficulty | Spine position | Equipment |
|---|---|---|---|---|
| Dead bug | Transverse abdominis, deep stabilisers | Easy | Neutral | Mat only |
| Bird dog | Spinal erectors, deep core | Easy | Neutral | Mat only |
| Glute bridge | Glutes, hamstrings, posterior core | Easy | Neutral | Mat only |
| Plank | Transverse abdominis, obliques | Moderate | Neutral | Mat only |
| Side plank | Obliques, quadratus lumborum | Moderate | Neutral | Mat only |
| Pallof press | Obliques, anti-rotation | Moderate | Neutral | Band optional |
| Mountain climbers | Deep core, shoulders, hips | Moderate | Neutral | Mat only |
| Bear hold | Whole anterior core | Hard | Neutral | Mat only |
| Bird-dog rock back | Deep core, hip control | Easy to moderate | Neutral | Mat only |
| Standing march | Deep core, hip flexors | Easy | Upright | Chair optional |
| Suitcase carry | Obliques, grip, anti-side-bending | Moderate | Upright | Dumbbell or book |
| Farmer carry | Core, grip, posture | Moderate | Upright | Dumbbells or books |
1. Dead Bug: the best starting point for deep core stability
The dead bug teaches you to keep your lower back pinned to the floor while your limbs move, which is the single most useful thing a beginner can learn. It trains the transverse abdominis and the small deep stabilisers around the spine without any spinal flexion.
Lie on your back with arms pointing at the ceiling and knees bent over your hips at 90 degrees. Press the small of your back gently into the floor. Exhale as you slowly extend one arm overhead and the opposite leg away from you. Return, then switch sides. Ten reps per side is plenty at first.
Make it easier by keeping the moving leg closer to the floor and shortening the range. Make it harder by lowering the arm and leg closer to the ground over a slow count of five. The most common mistake is letting the lower back arch off the mat as the leg extends; if that happens, the range is too long, not that you are weak.
2. Bird Dog: core stability that supports your spine and your balance
Where the dead bug works lying down, the bird dog asks the same trunk control while gravity pulls on your arms and legs. It trains the spinal erectors and the deep core together, which is why it shows up in most back-hitting programs.
Start on hands and knees with hands under shoulders and knees under hips. Tuck your toes slightly. Brace your midsection as if someone is about to tap you in the stomach, then lift one arm straight forward and the opposite leg straight back until both are level with your spine. Hold for two seconds, lower with control, repeat on the other side.
Ten reps per side, two or three sets. The mistake to watch is rotating your hips open as the leg lifts; think about a closed book taped to your lower back. Beginners can lift the arm only, or the leg only, and get most of the benefit. A raised-leg variant, sometimes called a dead bug from the floor, is a fine progression once the version on all fours feels steady.
3. Glute Bridge: posterior-chain strength with the ribs down
The glute bridge looks like a leg exercise and behaves like a core one. Pressing through the heels and lifting the hips demands that your trunk stay level while your hips extend, and it wakes up the glutes and hamstrings that crunches ignore.
Lie on your back, knees bent, feet flat and close enough to your hips that your shins are roughly vertical. Press your lower back down, squeeze your glutes, and drive through your heels until your hips are level with your shoulders. Hold one second at the top, then lower halfway and repeat.
Ten to fifteen reps, two or three sets. Resist the temptation to lift higher than your shoulders, which turns it into a lower-back extension; you should feel the glutes, not the spine. Easier: hold the top position for a static five-second squeeze. Harder: elevate your feet on a chair or couch, or hold a weight across your hips.
4. Plank: the anti-extension benchmark, done properly
The plank is the most famous crunch-free core exercise there is, and the most commonly done wrong. When you hold a plank you are resisting extension, the force that would pull your lower back into an arch. Doing it correctly is mostly about three things: hand position, a straight line and quiet breathing.
Place your forearms on the floor with elbows directly under your shoulders. Extend your legs back and rest on the balls of your feet. Tuck your hips slightly so your body forms one line from ears to ankles, and squeeze your glutes so the arch disappears. Breathe steadily rather than holding your breath for the whole set.
Thirty to sixty seconds, two or three sets, is more than enough for most people. Stop the set the moment your hips start to sag or pike; that is a form failure, not a weak set, and training through it is how people end up with sore backs. Easier: knees down, or elbows higher than your shoulders. Harder: reach one arm forward, or lift the feet slightly. If a full plank wrecks your lower back, the coffin plank with hands and forearms raised is often more comfortable, which is a common recommendation over on r/bodyweightfitness.
5. Side Plank: lateral strength and a quieter lower back
Side plank trains the muscles along the sides of your trunk, the obliques and quadratus lumborum, which is a job crunches do very little of. It also asks for a lot of hip stability, so it quietly fixes the wobbling some people notice on one side.
Lie on your side with your elbow under your shoulder, legs extended and feet stacked or staggered. Lift your hips so your body forms a straight line from head to feet, and reach the top arm toward the ceiling. Look at your feet rather than forward to keep the neck in line. Hold 20 to 40 seconds per side for two to three rounds.
Regression: bend your knees and rest on the bottom knee, which shortens the lever and takes pressure off the shoulder. Progression: raise the bottom leg or the top leg a few inches, or hold a light weight in the top hand. The classic error is letting the top hip roll backward, which puts the load on the side of the waist instead of the core.
6. Pallof Press: the strongest anti-rotation exercise most people skip
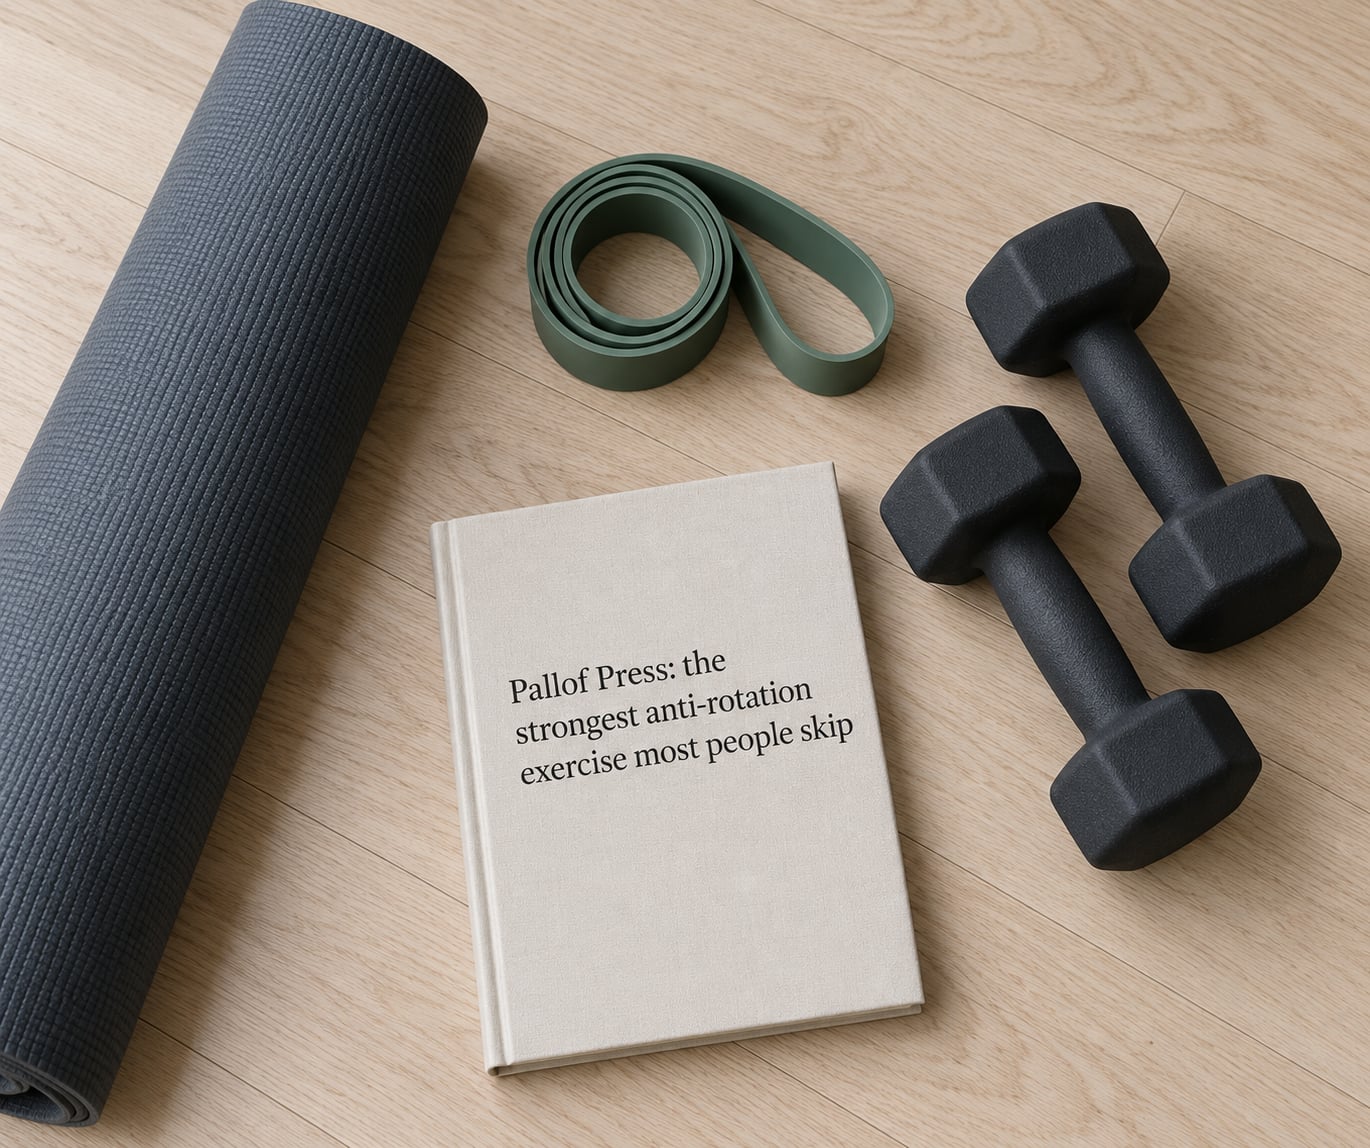
If your core only ever pushes things away from you, it has not been trained to stop things pulling you toward them. A Pallof press is an anti-rotation exercise: you stand tall and press an object straight out while resisting the pull of a band toward one side.
Stand with feet shoulder-width, loop a resistance band around a fixed post at about chest height, and hold the band with both hands at your sternum. Brace, then press your hands straight out until your arms are extended, resist the rotation for two seconds, and pull back slowly. Eight to twelve reps per side.
No band? Stand with your back to a wall and press a heavy book or a single dumbbell away from your chest, or do the same press with a partner resisting your hands. Keep your shoulders level; if one shoulder drifts forward you have gone heavy or too fast. Long-resisted PRs and suitcase carries are the other anti-rotation staples people like r/CalisthenicsCulture reach for when they want to avoid crunches entirely.
7. Mountain Climbers: core work that doubles as cardio
Mountain climbers move from a static hold into a dynamic one, which makes them useful when you want your core session to also raise your heart rate. The knees drive toward the chest while the trunk refuses to bounce, so the shoulders and deep core get a workout too.
Set your hands under your shoulders in a high plank. Keep your arms straight and shoulders stacked over your wrists, brace your midsection, and drive one knee toward your chest, then swap. Breathe out as each knee comes in.
That is the fast version and it is not the best version. Slow the tempo to a controlled two or three count per leg and you get far more core work and far less bouncing. For low-impact or knee-friendly training, keep one foot planted on a chair and switch sides instead of running both legs, a variation r/absworkouts readers frequently describe as cooking the abs without the joint sting.
8. Bear Hold: full-body tension and serious core endurance
The bear hold is where crunch-free training stops feeling like a warm-up. With the knees hovering an inch off the floor your whole front side has to hold tension, and most people find that harder than a minute-long plank.
From a high plank, bend your knees and lift them so they hover just above your mat. Keep your hips level with your shoulders, your back flat, and your eyes on the floor six inches ahead of your hands. Hold for 20 to 30 seconds, rest 30 seconds, repeat for three to four rounds. Breathe in short shakeless breaths; holding your breath defeats half the exercise.
If the hover is out of reach, keep your knees touching the ground but push the floor away with your hands and stay tight, or drop to a forearm version with the knees down. Progress by adding a second round rather than by fighting to squeeze the hover out of a wobbling back.
9. Bird-Dog Rock Back: control under a moving load
This one takes the bird dog position and rocks the hips back toward the heels, which adds a stretch through the hips and a much harder demand on your deep core. It stays completely neutral-spine, so it fits the crunch-free category perfectly.
From hands and knees with hands under shoulders, tuck your toes and lift your knees an inch off the floor into a bear position. Keeping the knees hovering, rock your hips back toward your heels in a slow five-count, then glide forward over your hands into the hover again. Six to ten rocks is a full set.
Keep the movement slow and the range modest; the moment your heels touch down or your back arches you have left the exercise. Beginners can rock back with the knees grounded instead of hovering, which still teaches the hip hinge. This is a good one for anyone who finds the plank static and boring.
10. Standing March: the most accessible entry point
If getting down on the floor and back up is the hard part, start here. A standing march trains the same bracing and pelvic control without any ground work, which makes it a genuinely good option for older adults, recent injuries, and anyone with knee or floor mobility issues.
Stand tall with feet hip-width apart and one hand on your stomach. Lift one knee to about hip height, set it down softly, then switch. Breathe normally. Twenty alternating steps per set, three sets, and you have done a real core session.
Two things make it work: quiet feet, because a heavy stomp tells you nothing about control, and a still pelvis, because if your hip rocks side to side you are twisting instead of bracing. Progress by holding the knee up for two seconds, adding small arm reaches, or slowing the tempo. Holding a chair or a wall for balance is completely fine and does not lessen the core work.
11. Suitcase Carry: anti-side-bending strength for real life
When you carry a heavy bag in one hand, your body wants to lean away from it. The suitcase carry trains you to stay upright while resisting exactly that lean, hitting the side of the core where rotation work often misses. It also works on grip and posture, which nobody planned for.
Hold a dumbbell, a heavy book or a filled bag in one hand at your side. Stand tall with both feet hip-width, brace as if bracing for a cough, and walk 20 to 30 steps without leaning, shrugging or swinging the weight. Switch arms and repeat. Three rounds per side.
Do not shrug the loaded shoulder and do not twist your trunk toward the weight. If you cannot hold 20 steps upright, use a lighter object and add length rather than adding load. If you have a shoulder that flares under load, keep the weight lower and closer to your hip, or carry a bag instead.
12. Farmer Carry: the simplest loaded core move there is
Farmer carry is just walking with something heavy in both hands, and that simplicity is exactly why it works. Your body has to keep the shoulders packed down, the ribs stacked and the spine rigid over distance and time, and there is nowhere to hide when it sags.
Take a pair of dumbbells, two jugs of water, or heavy books, one in each hand. Stand tall, shoulders down and back, brace, and walk for 30 to 45 steps or until your grip gives out. Rest a minute and repeat for three to four rounds.
Load conservatively at first. If your posture falls apart at the bottom of the rep, the weight is too heavy for the rep count you planned, and the last four steps are doing nothing useful. Stop each rep with the same posture you started with, and keep the walk slow rather than fast. Farmers pair well immediately after squats or deadlifts, when your trunk is already working.
How to Choose a Crunch-Free Core Routine
Start with your goal, not with a fitness trend
Pick the move that matches what you actually need. For back health and general strength, the dead bug, bird dog and glute bridge give you the fundamentals with almost no joint load. For athletic performance and lifting, planks, Pallof presses and farmer carries give you anti-extension and anti-rotation work that carries over to the barbell. For posture and desk shoulders, side planks and suitcase carries do more than any amount of trunk flexion.
If visible definition is part of your goal, be realistic. Crunch-free core work builds the muscle and the discipline underneath it, but what you see is mostly a body-fat question, and no single exercise guarantees a six-pack. People training only for abs is a frustration r/PlanetFitnessMembers readers raise constantly, and it is not worth building a program around.
The 10-minute no-equipment circuit
Do each move for 40 seconds with 20 seconds rest, then repeat the round two or three times. That is the whole workout.
- Dead bug, alternating sides
- Plank, hold still and breathe
- Bird dog, alternating sides
- Glute bridge, steady reps
- Side plank, 20 seconds each side
- Bird-dog rock back, controlled
That takes about ten minutes with the rest built in and needs no equipment beyond a mat. Swap in mountain climbers if you want the session to raise your heart rate, and drop to the knees on any hold that starts to wobble.
If you hate planks, use these instead
Plank aversion is common and completely valid. The anti-extension work can come from dead bugs, bear holds, bird-dog rock backs and Pallof presses instead, and the static hold can come from hollow-body work done in a controlled way or from standing marches with the arm reaching overhead. Nothing about your core requires you to be a person who lies face down on the floor staring at a clock.
Modifications for knees, joints and postpartum
For bad knees, avoid anything that drives force through a flexed or rotating knee: mountain climbers become standing knee drives or bicycle taps on a chair, side planks come down to the bent-knee version, and bear holds regress to knees-down bracing. If you are pregnant or recently postpartum, the dead bug, bird dog, glute bridge, standing march and Pallof press are the gentlest options, and any diagonal breathing or pelvic-floor work should be built in with guidance from your physiotherapist rather than guessed at.
For older adults or anyone returning after a long break, the standing march, bird dog and glute bridge build the endurance you need first. Get any back, neck or shoulder pain checked before you start, and stop a set that produces sharp rather than dull fatigue.
Five form mistakes worth fixing
These account for nearly every complaint I have seen about core training.
- Hips sagging or piking in a plank. The set is over; shorten it and restart. Holding a sagging plank is how people hurt their backs.
- Neck craning. Look at the floor six inches ahead of your hands, or slightly forward, not forward and up at the wall.
- Hips rocking open in bird dog. Imagine a book taped to your lower back and keep it flat.
- Feeling it in the hip flexors instead of the core. Tuck the pelvis slightly, ribs down, and slow the tempo down. Speed hides bad bracing.
- Breathing out entirely during a hold. Breathe shallow and steady through isometric sets; holding your breath spikes your blood pressure.
How often to train, and how to progress
Two to three sessions a week is enough for almost everyone. The trunk tolerates more frequency than most people expect, but the connective tissue around the spine does not need daily hammering, so give it a day between harder sessions. Ten minutes twice a week will do more than an abandoned hour once a month.
Progress in this order: range first, then seconds, then rounds. Hold the plank 20 seconds with clean form before trying 60 seconds with a dip in the middle. Once a movement looks easy and quiet for three sets, add the harder version listed with it, or add a round, rather than speeding up. Give any change four to six weeks before you judge it.
Frequently Asked Questions
What exercises can replace crunches?
The most useful swaps are dead bugs, bird dogs, glute bridges, planks, side planks, Pallof presses, bear holds, standing marches and suitcase or farmer carries. All of them train the trunk to brace and resist movement rather than repeatedly bending the spine. Pick two to four, do them two or three times a week, and progress by holding longer before adding anything new.
What are the big 3 exercises for the core?
Most coaches boil core training down to three movement patterns: anti-extension, anti-rotation and lateral stability. Anti-extension is your plank and your bear hold, anti-rotation is the Pallof press, and lateral stability is the side plank. The dead bug, bird dog and glute bridge are the best accessories for all three, because they teach the bracing the big moves depend on.
How do I strengthen my core with bad knees?
Choose movements that let you control the trunk without driving force through a bent or rotating knee. Dead bugs, bird dogs, glute bridges, standing marches and Pallof presses are all knee-friendly. Replace mountain climbers with slow standing knee drives, drop side planks to the bent-knee version, and regress bear holds to knees-down bracing. Ask a doctor or physiotherapist first if the knee pain is new or sharp.
Why does my lower back hurt during planks?
Almost always the hips are sagging or the movement has crept into a hip hinge, which lets the lower back take the load. Fix it by shortening the set before it breaks, squeezing the glutes, tucking the pelvis slightly and stacking elbows under shoulders. If it still hurts, regress to knees down or to a coffin plank with hands and forearms raised, and get persistent pain checked by a professional.
How many times a week should I train my core?
Two to three sessions a week suits almost everyone, and ten focused minutes will beat an abandoned long session. Leave at least a day between harder sessions, since the soft tissue around the spine needs time to recover. Progress one variable at a time: range, then seconds, then rounds. Give any change four to six weeks before deciding whether it is working.
Will crunch-free core exercises give me visible abs?
They build the muscle and the bracing underneath visible abs, but definition depends mostly on body fat, which no single exercise controls. Crunch-free work is still the better long-term investment because it supports lifting and posture without spinal compression. If visible definition is your priority, pair your core sessions with a sensible approach to nutrition, sleep and overall training volume.
Start with three moves this week: the dead bug, the bird dog and the glute bridge, two rounds of ten reps per side each. They need no equipment, they are kind to a sore back, and they teach the bracing that every other exercise on this list builds on. Add one plank or one Pallof press when those feel boring, and give it four to six weeks before you change anything.