Thirty minutes is plenty, and you need nothing but floor space to use it. How to do a 30 minute workout at home with no equipment comes down to timing: five minutes to warm up, a strength circuit, a cardio block, then a cooldown. Everything below works in a living room, a hotel room or a small apartment, with a towel on the floor and a timer you already own.
Short sessions win because you will actually do them. US guidelines for adults put 150 minutes of moderate-to-vigorous aerobic activity across the week, so five 30-minute sessions covers that and then some. Intervals let you hit a harder effort in a shorter window than steady jogging would.
The session below is built as a circuit, not a chore list. Two rounds of six movements at 40 seconds of work and 20 seconds of rest fill the middle block, then eight minutes of low-impact cardio finish you off. Nothing in it requires jumping, so neighbours and downstairs ceilings stay out of it.
Table of Contents
- What You Need
- What you can improvise
- Before you start
- If you are new to this
- How to Do a 30 Minute Workout at Home With No Equipment: Step by Step
- Step 1: Warm Up for 5 Minutes
- Step 2: Complete the Strength Circuit for 12 Minutes
- 1. Bodyweight squat
- 2. Push-up (wall, countertop, knees, or floor)
- 3. Reverse lunge or standing reverse step
- 4. Glute bridge
- 5. Bird dog
- 6. Full push-up or second squat variation
- Round 2
- Step 3: Finish With 8 Minutes of No-Equipment Cardio
- Step 4: Cool Down and Check Your Form
- Common Mistakes
- Frequently Asked Questions
- Can beginners really do a 30 minute bodyweight workout?
- How often should I do a 30 minute home workout?
- Does a no-equipment workout help with weight loss?
- What if I cannot do jumping exercises?
- When should I stop exercising and see a doctor?
- Conclusion
What You Need
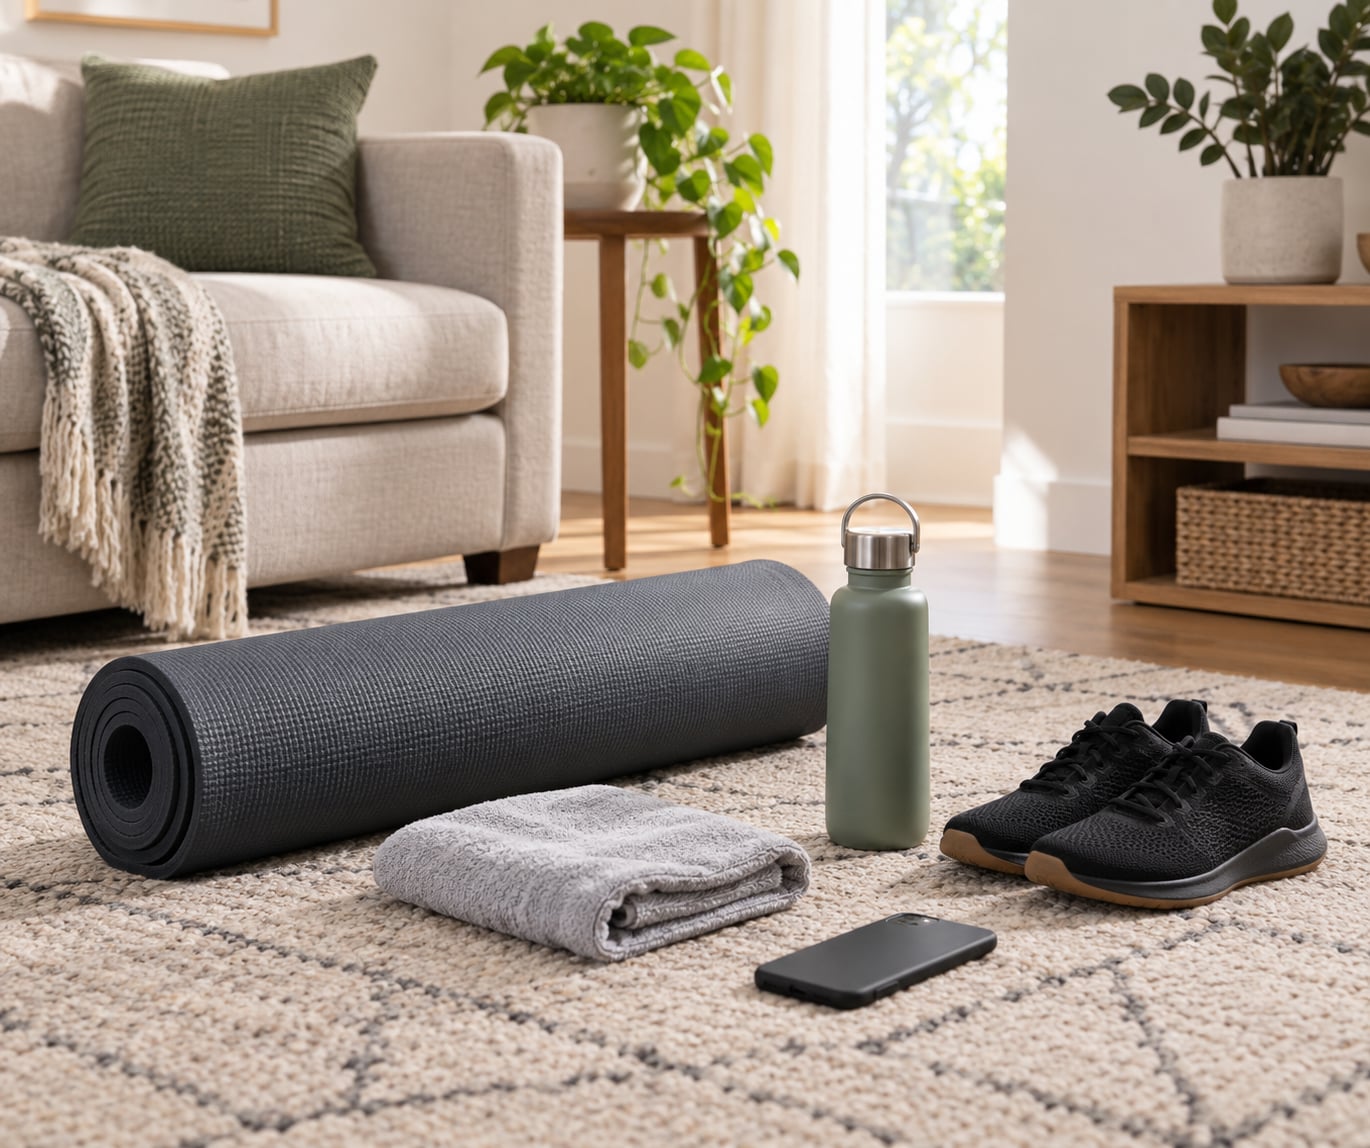
Nothing to buy. You need a clear patch of floor about the size of a yoga mat plus arm’s length, a pair of shoes with a flat grippy sole, a towel or thin mat for floor work, water, and a timer.
Shoes matter more than people expect. Training in socks on a hard floor is how people slip and tweak a knee. Trainers or any flat shoe with a rubber sole give you the stability to push off and land, and you need that for lunges and squats even without jumping.
For the floor block, a folded towel is genuinely enough. Carpet is fine as well, since it gives your knees and lower back a little more give than tile.
Your timer matters more than any gadget. A phone alarm set to 40 seconds, or a watch with an interval mode, keeps the pacing honest. Most people stop intervals too early or rest too long without a clock, and a 30-minute session quietly turns into 45.
What you can improvise
If you want something to hold or stand on later, a filled water bottle works like a light weight, and a couple of soup tins from the back of the cupboard do the same job. A sturdy sofa or bed edge gives you an inclined surface for push-ups, and a chair becomes a step for step-ups. Treat all of it as optional; bodyweight alone is enough for a first month.
Before you start
Clear anything that trips, check that the ceiling above you is clear, and pick a surface you can see. If you have an injury, are pregnant, or manage a heart, blood pressure or joint condition, ask your doctor or another qualified health professional what is safe for you first.
If you are new to this
Start with the warmup, then one round of the strength circuit, then the cardio block at an easy pace. Halving the volume in week one is not a compromise, it is the reason week two goes well. Soreness two days later is a sign you did something new, not a sign the session worked better.
How to Do a 30 Minute Workout at Home With No Equipment: Step by Step
Here is the whole clock in one place, so you can run the session without reading ahead.
- 0-5 minutes, warm-up: marching, arm circles, hip hinges, bodyweight squats, side steps. Easy effort.
- 5-17 minutes, strength circuit: six movements, 40 seconds of work and 20 seconds of rest, two rounds. Hard and controlled.
- 17-25 minutes, cardio finisher: four low-impact movements, 30 seconds on and 30 seconds moving. Hard in bursts.
- 25-30 minutes, cool-down: walk it out, then four stretches held about 30 seconds each. Easy effort.
Step 1: Warm Up for 5 Minutes
The warmup is five minutes of gentle, continuous movement. Its job is to raise body temperature, get blood moving and let your joints produce a little synovial fluid. It is not a test, and you should finish it feeling warmer and slightly out of breath, not tired.
March in place for 60 seconds, lifting your knees to hip height. Then do 10 large arm circles forward and 10 backward. Follow with 10 slow hip hinges: soften your knees, push your hips back, and let your torso tip forward as one piece until you feel a stretch behind your thighs. Rise by squeezing your glutes.
Next come 10 bodyweight squats, taken at half depth if that is what you have right now. Finish with 30 seconds of side steps in each direction, tapping the far foot out to the side and back to centre.
You know the warmup is doing its job when your breathing is a little faster than normal but you could still hold a conversation without running out of breath mid-sentence.
Step 2: Complete the Strength Circuit for 12 Minutes
The circuit runs six movements, 40 seconds of work and 20 seconds of rest, which makes one round 6 minutes. Two rounds fill the 12-minute block. During the 20 seconds of rest, do not sit down; that is active recovery, and moving gently keeps your heart rate up so the next interval starts faster.
If 40 seconds feels long, run 20 seconds of work and 20 seconds of rest. Same block, same order, easier entry point.
1. Bodyweight squat
Stand with feet about hip-width apart. Sit your hips back and down as if reaching for a chair behind you, keep your chest tall, and let your knees track over your toes. Drive through your whole foot to stand. Target: quads, glutes, hamstrings. Common mistake: knees caving inward, which you fix by thinking about pushing them out slightly. If getting up from a chair feels hard, sit to a chair and stand, every rep.
2. Push-up (wall, countertop, knees, or floor)
Place your hands a little wider than your shoulders, make a straight line from head to heels, and lower your chest toward the floor. Use the version you can control. Target: chest, shoulders, triceps. Common mistake: hips sagging or piking. Fix it by squeezing your glutes and doing fewer reps than you think you need. The regression ladder runs wall or countertop push-up, then knees on the floor, then full floor push-up; climb one rung every week or two.
3. Reverse lunge or standing reverse step
Step backwards with one leg and lower straight down until both knees are near 90 degrees, then push back to standing. Keep your torso upright. Target: glutes, quads, hip stability. Common mistake: leaning forward or letting the front knee travel past the toes. Balance option: hold a counter edge and tap the back foot back and return, no lowering.
4. Glute bridge
Lie on your back, knees bent, feet flat and close to your hips. Press through your heels to lift your hips until your body forms a straight line from knees to shoulders, then lower. Target: glutes and hamstrings. Common mistake: arching the lower back instead of using the glutes. Reduce the range until you feel the glutes do the work.
5. Bird dog
From hands and knees, keep your back flat and level. Extend one arm forward and the opposite leg back until both are in line with your spine, hold briefly, and return. Alternate sides. Target: core, lower back, hip stability. Common mistake: rotating or lifting the hip. Keep the movement slow and short if you have to; a small range with a steady torso beats a big range with a twisting one.
6. Full push-up or second squat variation
If your push-ups are clean by round two, repeat the push-up and drop the standing rest. If your wrists or shoulders object, do a second round of squats at 30 seconds of tempo, lowering slowly for three counts. Target: same as above, different angle. Common mistake: stacking push-ups to “catch up”, which wrecks round three. Pace the rounds, not the first interval.
Round 2
Run the six movements again in the same order, same 40 seconds on, 20 seconds moving. Whatever you could not do in round one should look better now, and that is the point of repeating. When the whole circuit feels manageable, that is when a third round becomes your week-two or week-three upgrade.
Step 3: Finish With 8 Minutes of No-Equipment Cardio
This block is 30 seconds on, 30 seconds moving, repeated eight times, using four movements in rotation. The rest is not stillness: march, shake your arms out, or step lightly side to side. Heart rate dips fast in silence, and the next interval suffers for it.
Movement one is step-touch to overhead reach: step one foot out, bring it back, then reach both hands overhead. Movement two is a low-impact jack, stepping one foot out and the other in while your arms sweep up and down instead of jumping. Movement three is a fast march with a knee drive, driving each knee to hip height on the beat. Movement four is a squat to reach: sit the hips back, stand, and reach both hands toward the ceiling as you rise.
Every one of those is quiet and apartment friendly, which is why the routine has no jumping at all. If your knees, ankles or lower back are unhappy, keep the step-touch and the march, drop the squat to reach, and stay on the same effort.
On effort, use two simple checks. Rate of perceived exertion, or RPE, is a 1 to 10 scale where 1 is sitting still and 10 is a hard sprint. Aim for about 7 to 8 here: hard, but you are still choosing your words. The talk test says the same thing more simply. If you can speak a full sentence, ease up. If you can manage four to six words between breaths, you are in the right zone.
Speed is not the point. A slow, clean, low-impact jack beats a fast, collapsing one every time, because the form is what makes the interval count.
Step 4: Cool Down and Check Your Form
Walk slowly around the room for 60 seconds, swinging your arms, until your breathing comes back down. Then take four stretches, each held about 30 seconds, breathing slowly rather than bouncing.
Shoulder rolls, 10 forward and 10 back. A chest stretch: palms together at chest height, elbows out, ease the shoulder blades forward. A quad stretch: hold a counter, stand on one leg, pull the other heel toward your glute. A hamstring stretch: heel forward, toes up, hinge from the hips with a flat back. Finish on both sides of a calf stretch and, if your back is comfortable, a child’s pose to close.
While you stretch, run a quick form check on the round you just did. Did the squat knees stay lined up with the toes? Did the plank-shaped moments, if you had any, keep a level back? Did you keep breathing through the hard intervals? Those three answers tell you more than how sweaty you are.
Stop the session, sit down, and get help if you feel sharp pain in a joint or chest, feel dizzy or faint, notice unusual shortness of breath, or feel pain that does not settle during the cooldown. Get medical advice before your next session.
Common Mistakes
Most people who stall out on a home routine are making one of these eight errors, and each has a simple fix.
Skipping the warmup. Five minutes feels expensive, and it is the reason your first interval feels awful. Cut the circuit to 5 minutes instead and keep the warmup. It is the least negotiable part of the plan.
Rushing and cutting range of motion. Half a squat and a push-up that only travels 10 centimetres are not a hard interval, they are a short one. Slow the tempo instead of adding speed: three seconds down, one second up.
Copying moves that outrank your fitness. Burpees and jumping jacks appear on most lists, and most lists are written for people who already train. If a move feels like guesswork, swap it. There is no prize for doing the version that hurts.
Sagging hips in plank-based work. Your lower back takes the load when your hips drop. Squeeze the glutes, shorten the hold, or go to a higher position until you can hold a straight line.
Knees collapsing in squats and lunges. Think about screwing your feet into the floor and pushing your knees slightly outward. Feet a little wider than hips makes this easier for most bodies.
Holding your breath. Breathe out on the effort, in on the recovery. If you can count aloud during a set, you are breathing properly and probably pacing yourself well too.
Ending without the cooldown. A cooldown does not prevent soreness, but it slows your heart rate gradually instead of dumping you on the sofa. Five minutes is cheap and it makes the next session easier.
Repeating the same session at the same effort for a month. The routine works because you progress, not because the routine is magic. Add a round, add a finisher, or slow the tempo, one change at a time.
Frequently Asked Questions
Can beginners really do a 30 minute bodyweight workout?
Yes, as long as you scale the volume and drop the intensity at the start. Do the five-minute warmup, one round of the strength circuit instead of two, and keep the cardio block at an effort where you can still talk in short sentences. Add the second round in week two. Most soreness people blame on the routine is really the volume jumping too fast in the first week.
How often should I do a 30 minute home workout?
Three to five sessions a week is the practical range, and leaving a rest day between hard sessions helps you get stronger rather than just tired. On rest days, a 20 to 30 minute easy walk keeps things moving without adding load. If you are training every day, keep at least two of those days at an easy effort you could hold a conversation through.
Does a no-equipment workout help with weight loss?
It helps, but it is not a fat-loss machine on its own. This routine burns calories and builds muscle, and that combination is what changes body composition over months. Calories burned in a 30 minute bodyweight session vary widely with body weight and effort, so treat any single number you read as an estimate. Eating consistently, sleeping, and weekly training do the rest.
What if I cannot do jumping exercises?
This routine has no jumping in it, so you are already covered. Step-touch replaces jumping jacks, the step-back burpee replaces the jump, and low-impact jacks swap two feet in and out without leaving the floor. If your joints still object, stay with marching, step-touch and standing reaches, and check in with a clinician if the pain keeps coming back.
When should I stop exercising and see a doctor?
Stop and get help for sharp or sudden pain in a joint or the chest, dizziness or faintness, unusual shortness of breath, a racing or irregular heartbeat, or pain that does not ease up during the cooldown. Before you start, ask a doctor or qualified health professional if you have an injury, are pregnant, or manage a heart, blood pressure or joint condition. The rule of thumb is simple: pain is information, not something to push through.
Conclusion
Thirty minutes, no kit, and a plan you can repeat on autopilot. Start with the five-minute warmup and one manageable round of the circuit this week, finish the eight minutes of cardio at a conversational effort, and take the cooldown.
From there, change one thing at a time. Week one is one round, week two adds the second, week three raises the pace or adds a third round, and week four either trims the rest to 10 seconds or holds a longer stretch at the end. That progression is the whole difference between a workout you did once and one that keeps giving you something for a year.
If you only remember one thing from how to do a 30 minute workout at home with no equipment, remember that consistency beats intensity. Fifteen honest minutes three times a week will do more for you than one heroic session that leaves you sore for a week.