Yes, walking uphill costs your body more energy than the same walk on flat ground, because you lift your whole body against gravity on every step. To do it without wrecking your calves or your knees, warm up level for about five minutes, raise the incline in small increments, and hold an effort where you can still talk in full sentences. A first-timer usually starts between 1% and 3% and works up from there.
If you are new to this, plan on 25 to 35 minutes for a full session, most of it walking. There is no equipment beyond a pair of shoes with grip and either a treadmill with an incline control or a familiar route with a slope you can measure. Working out how to walk on an incline to burn more calories safely is mostly about patience, not gear.
Table of Contents
- What You Need
- Step-by-Step: How to Walk on an Incline to Burn More Calories
- Start With a Flat, Comfortable Warm-Up
- Add a Small Incline Gradually
- Maintain an Effort You Can Sustain
- Build Your Weekly Routine
- Cool Down and Track Your Progress
- Common Mistakes
- Safety and Technique Tips
- Frequently Asked Questions
- What incline should a beginner use on a treadmill?
- Does walking uphill really burn more calories than walking on level ground?
- Should I hold the treadmill handrails while walking uphill?
- Can incline walking cause knee pain?
- Is walking on a steep hill better than using a treadmill?
- How long should an incline walking session be?
- Conclusion
What You Need
Start with supportive shoes. Anything with a grippy outsole and a stable heel works, and most trainers made for running or walking qualify. Well-worn shoes with a flattened tread are the main reason people feel wobbly on a steep setting, so replace those first.
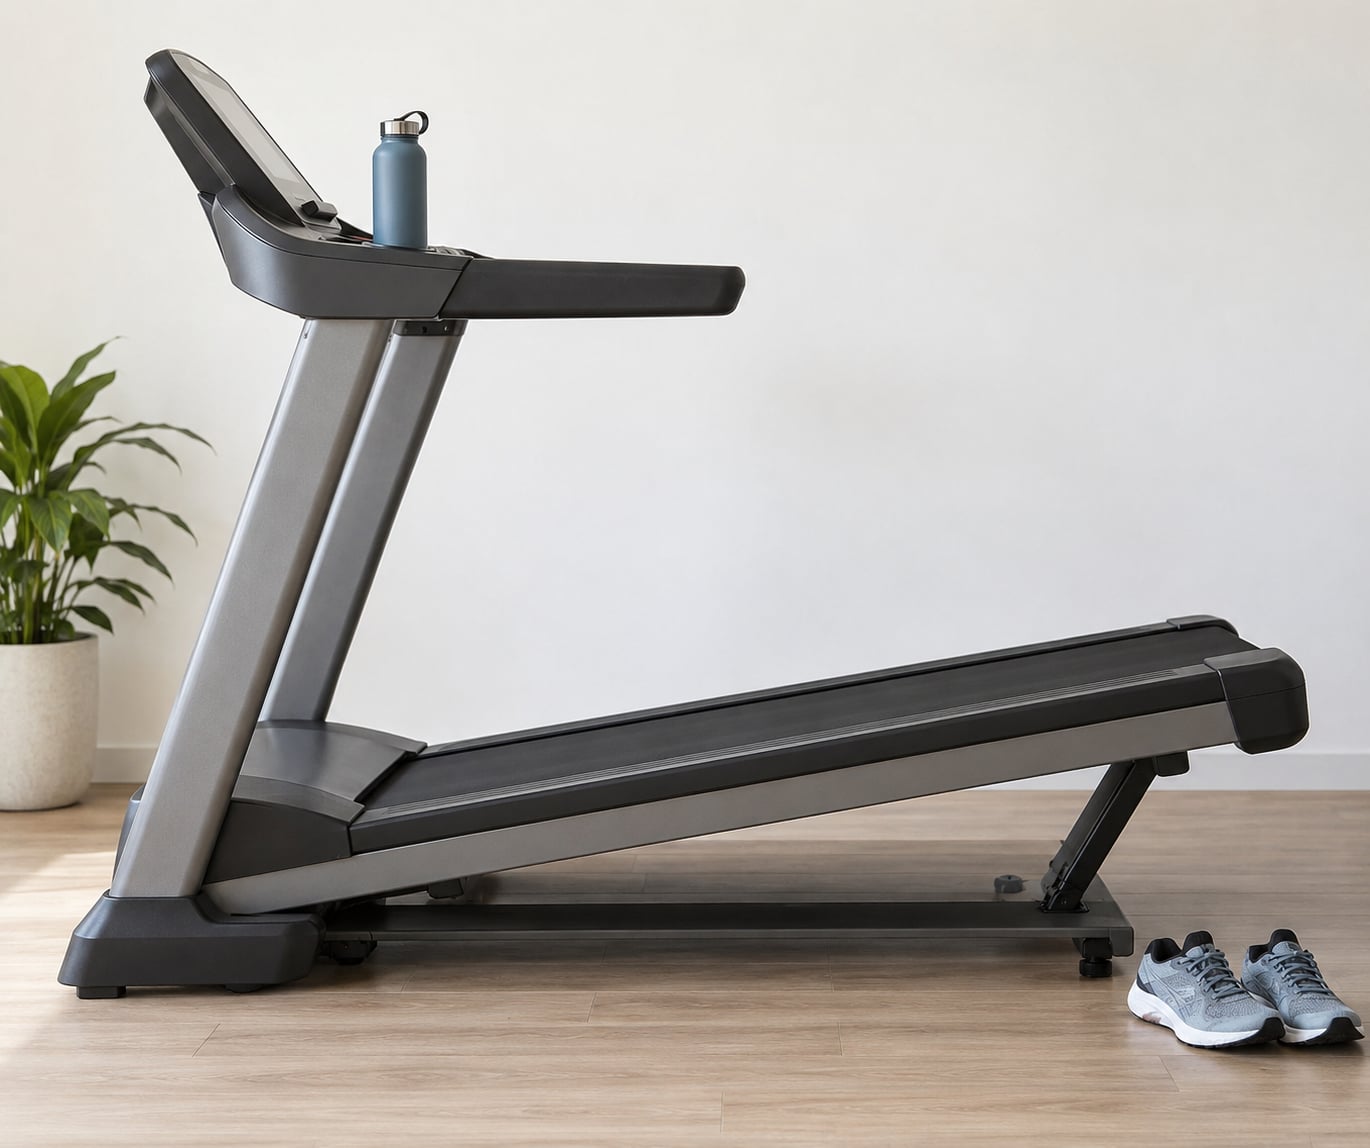
Next, you need a surface with a known grade. A treadmill with an incline control is the easiest because the percentage is printed on the console. Outdoors, pick one route and learn it well enough that you know whether the hill is a gentle rise or a genuine climb before you set out.
Water matters more than people expect, because incline sessions are longer and heavier on the breath than flat ones. Keep a bottle within reach. A watch, phone or chest strap that reads heart rate is useful but optional, and a phone note where you jot down your pace, incline and time will tell you more than any single workout number.
Give yourself a stop button. On a treadmill the red safety key does this instantly. Outdoors, walk on the side of the road facing traffic and turn back at the first sign of trouble, even mid-effort.
Step-by-Step: How to Walk on an Incline to Burn More Calories
Work through the steps in order rather than jumping to the steep part first. The order matters because each stage tells you whether the next one is realistic for you today.
Start With a Flat, Comfortable Warm-Up
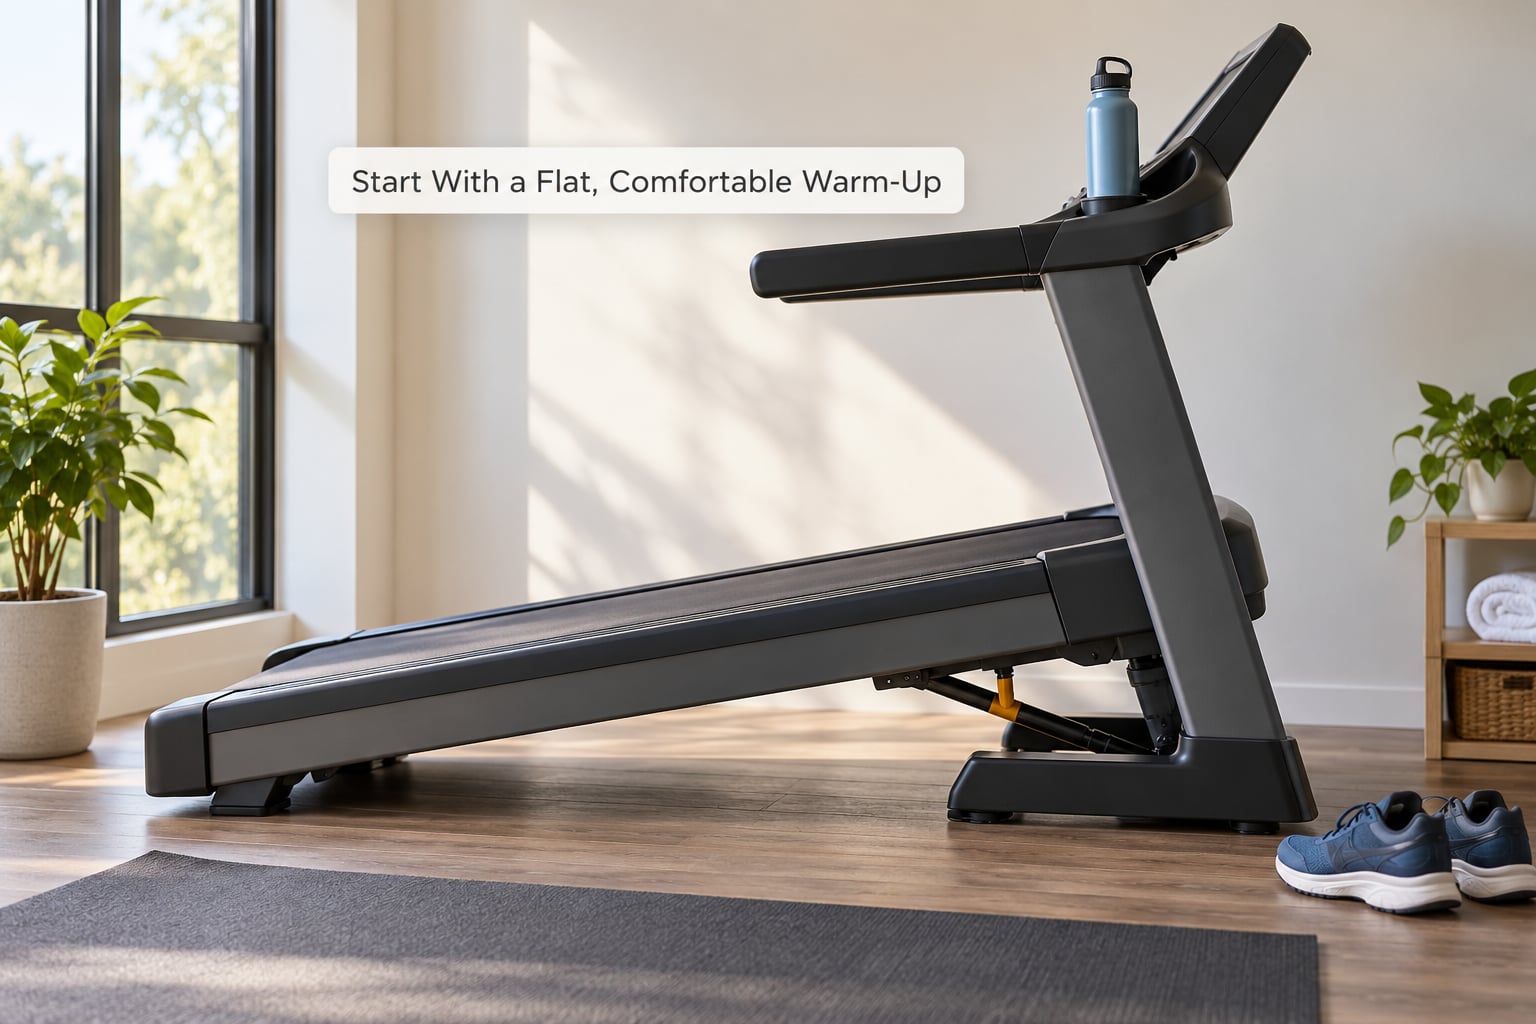
Set the incline to zero and walk at your normal, unhurried pace for five minutes. Your breathing should settle into a rhythm, and you should be able to speak a full sentence without pausing for air, which is the readiness signal that your calves, hips and ankles are warm enough for the gradient.
Use the flat minutes to shake out your arms and roll your shoulders back. If your calves feel tight or your lower back feels stiff at the end of five minutes, add another two minutes rather than adding incline.
Add a Small Incline Gradually
Raise the incline in steps of 0.5% to 1% at a time, and give your body thirty seconds at each setting before going higher. On a treadmill, 1% is easy to picture: the far end of the belt rises about twelve inches over each hundred feet of travel, so a 5% grade puts the back of the belt roughly five feet higher than the front.
Outdoors, the same grade on a paved path rises about five feet over a hundred feet, which is roughly the kind of hill most people describe as a steady climb. Walkers on fitness forums report solid results at gentler settings, around 2% to 2.5% incline paired with a quicker pace of about 3.8 to 4.3 mph, which tells you that pace and grade are interchangeable levers.
Keep your posture where it belongs: chest tall, gaze a few metres ahead, arms swinging naturally. Shorten your stride slightly rather than reaching forward for the belt.
Maintain an Effort You Can Sustain
Use the talk test to set the effort. Comfortable conversation means moderate intensity, which is the sweet spot for a session you actually repeat. A few words between breaths usually means harder work, and a sentence you cannot finish means you picked the wrong setting. This is where knowing how to walk on an incline to burn more calories turns into a habit you keep.
At a moderate incline, a 3 mph walk burns roughly 120 calories in 30 minutes on the level, around 170 at a 5% grade and close to 210 at 10%, based on published estimates for an average adult. A 10% grade can add something like 30% to 50% to the calories burned at the same speed, though your own number moves with your body weight and how hard you push.
If your breathing gets away from you, fix it in this order: lower the incline a half point, then slow the pace, then shorten the session. Never fight a runaway heart rate with speed.
Build Your Weekly Routine
Add time before you add steepness. In the first week, aim for three sessions of 20 minutes with a five-minute flat warm-up, the bulk at a comfortable grade, and a five-minute flat cool-down. The second week, add five minutes to two of the sessions rather than raising the incline.
Once a session feels ordinary at a given grade, nudge that grade up by one point. That single change is enough, and it is where most people get the results forum posters describe: one regular reported losing 85 pounds while walking at a 13% grade and 3.3 mph, another reported around 300 extra calories in a 30-minute session at 13% from a flat baseline. Those are outliers, not a target.
If you have seen the 12-3-30 workout, it is the same idea with a fixed structure: twelve minutes at a 12% grade, three minutes at 3%, repeated until the half hour is up. It works as a structure, but 12% is a hard starting point for most beginners, so run the pattern at a gentler grade such as 3% and 1.5% until your calves keep up.
Leave at least one day between harder sessions. Persistent soreness in your calves or your Achilles tendon that lasts into the next morning means the last increase was too much.
Cool Down and Track Your Progress
Return the incline to zero, drop the pace, and walk for five minutes until your breathing is back to normal. Stretching is optional; the easy walking is the part that does the work, because it moves blood back out of your legs before you sit down.
Record three numbers each time: minutes, average incline, average pace. Add a note about how it felt, because a session that felt easy at the same settings is the clearest progress signal you will get.
Judge progress on effort, not on the treadmill display. Console calorie figures are estimates built from your weight, speed and the machine’s own assumptions, and they vary widely between brands. Walking ten minutes at the same pace and grade with a noticeably easier heart rate is a real result; a number jumping around by a hundred calories is not.
Common Mistakes
Starting at your hardest setting. The display showing 12% or 15% is not a challenge to accept on day one. Fix: begin at 0%, then climb one point at a time over several sessions, as above.
Holding the handrails. Leaning on the rails takes weight off your legs and quietly cancels a large share of the extra work you came for. Fix: if you need the rails at a given grade, that grade is too steep today, so lower it until your hands float free.
Shortening your stride into the belt. Quick, tiny steps behind the console feel faster but often cost more energy per minute in the wrong way, and they load the calves unevenly. Fix: let your foot land under your body and keep steps smooth.
Treating the calorie display as a measurement. Machines estimate, and they frequently overshoot. Fix: use the console for pace and incline, and use the talk test and your own tracking notes for the truth.
Raising the incline every session. Fatigue sets in fast when nothing feels the same as last time, and the calves and Achilles take the bill. Fix: add minutes for two or three weeks, then raise the grade by one point.
Chasing the fat burning zone. The popular idea that you must stay under a specific heart rate to burn fat is not how fat loss works, and chasing a low number makes the session boring and too easy to outlast. Fix: use a moderate, repeatable effort and let the overall routine do the work.
Safety and Technique Tips
Keep your eyes forward rather than down at the console, and keep your hands off the rails once you have found a workable grade. Land mid-foot rather than heavily on the heels, and stop letting your lower back arch when fatigue sets in, since that is usually where slouching begins.
Outdoors, check the surface before you commit to a long climb. Loose gravel, wet leaves, frost and uneven pavement change the effort and the risk, and a steep trail is not the place to learn a new skill. Wear something visible near traffic, and pick daylight in winter.
Drink before you feel thirsty, and eat properly through the day rather than saving your only meal for after a hard walk. Give your legs a day to recover between harder sessions, and if your calves are persistently tight, drop the grade by a point for a week rather than pushing through it.
Stop the session and seek medical advice if you feel chest pain, unusual shortness of breath, dizziness or a fluttering heartbeat. The same applies to joint pain that appears during the walk and does not settle once you flatten the incline. If you have an existing heart, joint or balance condition, are pregnant, or are returning to exercise after time away, ask your doctor or a physical therapist what is safe for you before you change the grade, and stop if anything feels wrong.
Frequently Asked Questions
What incline should a beginner use on a treadmill?
Start at 0% and treat 1% to 3% as your working range for the first couple of weeks. Raise it by one point only when a session at the current setting feels easy on your calves and you can still speak in full sentences. Most people reach a useful 5% to 8% within a month, but there is no prize for getting there faster.
Does walking uphill really burn more calories than walking on level ground?
It does, at the same speed and duration, because raising your body costs energy on every step. A 10% grade can add roughly 30% to 50% to the calories burned versus level walking. At 3 mph, published estimates put a 30-minute session near 120 calories flat, about 170 at 5% and close to 210 at 10%, though your own figure depends on body weight and effort.
Should I hold the treadmill handrails while walking uphill?
No, not once you have found a workable grade. Holding the rails shifts work off your legs and reduces the extra energy the incline is supposed to create, and it also encourages a hunched posture. If you need the rails at a given setting, treat that as a signal the setting is too steep and lower the incline until your hands float free.
Can incline walking cause knee pain?
For most people incline walking is gentler on the knees than running, but a steep grade loaded too early can irritate the joint. That usually shows up as discomfort during the walk that does not settle after you flatten the incline. Build the grade slowly, shorten your stride slightly on the climb, and get a clinician’s opinion if pain persists or worsens.
Is walking on a steep hill better than using a treadmill?
Neither is better in principle, and the practical differences are weather, time and measurability. A treadmill gives you a fixed percentage you can reproduce exactly, which makes progression easy. A hill gives you fresh air and a real-world workout, but the grade changes with the route, weather and season, so you need a known climb to judge whether you are progressing.
How long should an incline walking session be?
Five minutes of flat warm-up, then 15 to 25 minutes of incline work, then five minutes flat to cool down works well for most people starting out. That is a 25 to 35 minute session. Add time before you add steepness, and if your calves are still sore the next morning, cut the length back rather than raising the grade.
Conclusion
Start simple: five minutes of comfortable flat walking, then add one point of incline and hold it for ten minutes before adding anything else. Build the duration first and the steepness second, and let how the session felt tell you more than any number on the console. If you have a heart, joint or balance condition, or you are returning after time away, check with your doctor or a physical therapist before you raise the grade.