Building a home workout routine without equipment comes down to three parts: a weekly schedule you can actually keep, a short list of bodyweight movements, and a slow plan to make them harder over time. Pick two to four sessions a week, run each one for 20 to 25 minutes, and change one thing at a time when the reps stop climbing. No gym membership, no dumbbells, no mat required.
I built my first no-equipment routine by writing three sessions on paper and pinning them to the fridge. That was years ago, and the plan has barely changed. The movements are almost the least interesting part; keeping a schedule is what actually moves the needle, and it is where most people quit in week three.
This guide covers the whole method, with numbers, so you can copy it and adjust. Updated for 2026, and it still takes under ten minutes to set up.
Table of Contents
- What You Need to Start
- How to Build a Home Workout Routine Without Equipment, Step by Step
- Step 1: Set a realistic weekly schedule
- Step 2: Choose a small set of foundational movements
- Step 3: Build each session with a warm-up, main circuit, and cool-down
- Step 4: Start at an easy level and track your progress
- Step 5: Increase difficulty gradually
- Step 6: Review the routine every one to two weeks
- Common Mistakes to Avoid
- Starting too hard
- Changing exercises constantly
- Skipping the warm-up and recovery days
- Chasing soreness
- Training on an unsafe surface
- Progressing every variable at once
- Frequently Asked Questions
- How many days a week should I work out at home without equipment?
- Which exercises should I pick for a beginner home workout routine without equipment?
- Is bodyweight training enough to get fit at home?
- How fast will I see results from a home workout routine without equipment?
- What should I do about pain during or after a no-equipment workout?
- Conclusion: Start With Three Days and One Good Week
What You Need to Start
Nothing to buy. The list of things you need is short, and most of it you already own.
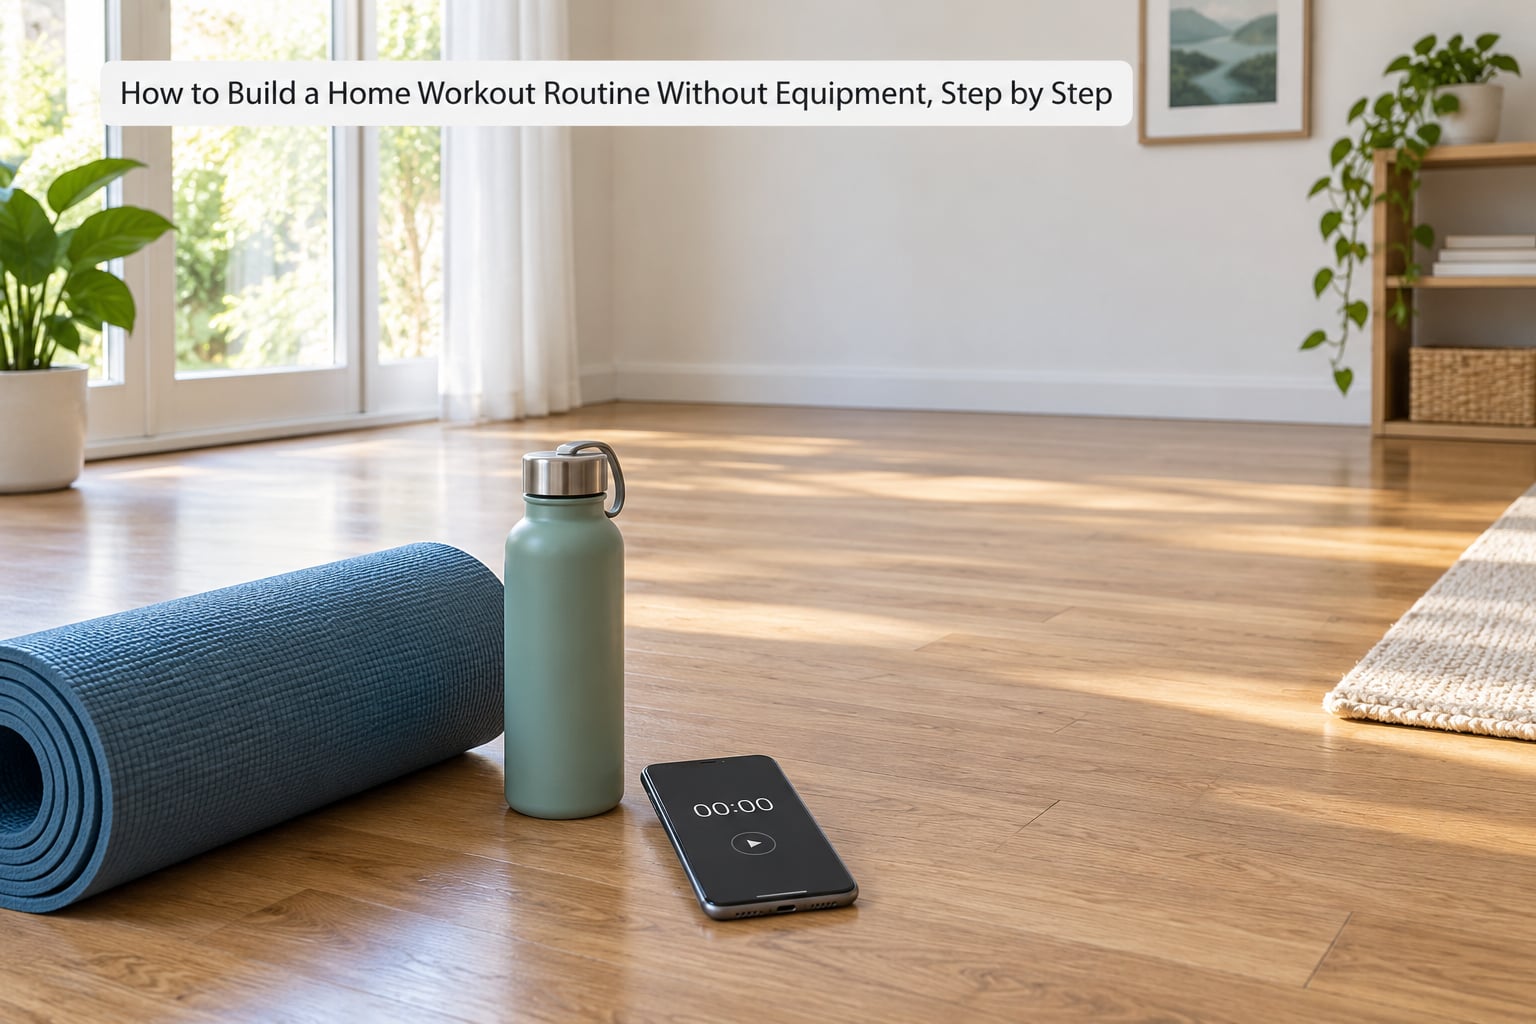
- A safe floor or mat. A rug, a folded towel, or a carpeted room works. Carpet is softer on the knees, though it can hide an uneven board. A yoga mat helps but is optional.
- Supportive shoes. This is the one thing worth spending money on if you have to. Bare feet on hard floor and slippery socks are the two most common ways people tweak an ankle.
- A water bottle. Keep it where you can see it so you drink without thinking about it.
- A clock or phone timer. Rest intervals are the part people skip, and a timer is what keeps a 20-minute session from turning into 45.
- Your phone or a sheet of paper. Write down the reps you finished. Memory is bad at this, and the log is how you know when to progress.
That is the full shopping list. Clear a space roughly the size of a yoga mat, ideally away from sharp furniture corners, and you have everything a home workout routine without equipment needs.
How to Build a Home Workout Routine Without Equipment, Step by Step
Step 1: Set a realistic weekly schedule
Start with three sessions a week. That is the number most beginners can hold for months, and three is enough to see results as long as each session is decent.
Two sessions work if you are recovering from an injury, traveling often, or juggling a genuinely full week. Four or five only suits people who already have a habit, because a missed session turns into a missed week. Leave at least one rest day between sessions, so your muscles get a chance to adapt before you ask again.
Then anchor the sessions to something fixed. Tuesday, Thursday, and Sunday after breakfast is more reliable than “whenever I have time.” When you know how to build a home workout routine without equipment, the schedule is the part that does the work, not the exercises.
Step 2: Choose a small set of foundational movements
Six movements cover the whole body. Resist the urge to add a seventh for weeks.
- Squats for the quads, glutes, and hamstrings.
- Wall or countertop push-ups for the chest, shoulders, and triceps. These scale cleanly to floor push-ups later.
- Glute bridges for the glutes and hamstrings, and they are kind to knees and lower backs.
- Bird dogs for the core and the back muscles that hold you up all day.
- Plank or dead bugs for the core, with dead bugs being the easier option.
- Marching in place or step jacks to get your heart rate up and warm the hips.
That is your whole library for week one. Later you can add a lunge, a pike push-up, or a wall sit once the basics feel easy.
Step 3: Build each session with a warm-up, main circuit, and cool-down
Use the same three-part shape every time, so no session needs a decision.
The warm-up takes five minutes: march on the spot for one minute, do ten step jacks, ten bodyweight squats at half depth, ten arm circles each way, and one or two slow cat-cow stretches. You are raising temperature and checking joints, not burning calories.
The main circuit is five or six movements. Do 10 to 15 reps of each, rest 60 to 90 seconds, then move to the next. When you finish the round, rest two minutes and go again. Three rounds is a full session, two is a short day, four is a hard day.
The cool-down takes three to five minutes. Walk around the room until your breathing normalizes, then hold a gentle hamstring stretch, a chest stretch, and a child’s pose for 30 seconds each. Skipping it is fine on a deadline, but your knees and lower back notice when it becomes the default.
Step 4: Start at an easy level and track your progress
Your first two weeks should feel almost too easy. Choose an effort where you could do five or six more reps at any point in the set, and stop there. Building from a controlled base is how you avoid the two weeks of soreness that convince people to quit.
Write down three numbers after every session: how many rounds you finished, how many reps you did on the hardest movement, and how long the session took. That log is the whole measurement system. It costs you ten seconds and it is the only way to know whether you are improving or just tired.
Muscle soreness the next morning is not a measure of fitness. A workout that leaves you sore but a little stronger than last month is working, whatever your legs tell you on the stairs.
Step 5: Increase difficulty gradually
When a movement stops feeling challenging, change one variable. Never two in the same week, or you will not know which one caused the soreness.
- Add reps. The simplest step. Ten squats becomes twelve becomes fifteen.
- Add a round. Going from three rounds to four adds about seven minutes.
- Slow down. Take three seconds to lower and three seconds to lift. Tempo work is brutal and works almost anywhere.
- Extend the hold. A 20-second plank becomes 30, then 40.
- Cut the range of motion. A partial squat with a pause at the bottom is harder than a full squat.
- Go one-sided. Single-leg glute bridges or split squats double the demand on one leg, and they are the standard fix for a stalled movement.
Progress only when the reps are clean. If the last two reps of a set look shaky, stay where you are. People who add reps with bad form end up chasing a doctor instead of a pull-up.
Step 6: Review the routine every one to two weeks
Once a week, glance at your log and ask three questions. Did I do most of the sessions I planned? Does the routine feel too easy or too hard? Is my technique still clean?
If the answer is that you skipped sessions, do not progress anything. Fix the schedule first by making the sessions shorter, and a shorter session you complete beats a longer one you avoid. If it feels too easy, apply one of the changes from Step 5. If it feels too hard or you are still sore several days later, cut the rounds by one or return to an easier variation, like wall push-ups instead of floor ones.
Every four to six weeks, consider a lighter week. Halve the rounds, keep the movements, and come back the following week at full effort. A deload feels like wasted time in the moment and usually is the reason you keep improving instead of stalling.
Common Mistakes to Avoid
Most abandoned home routines fail for the same handful of reasons, and every one of them has a simple fix.
Starting too hard
The classic opening-week mistake is picking the hardest variation of everything. Nobody sticks with a routine that leaves them unable to walk downstairs. Start at an easy effort for two weeks and let the log tell you when to add.
Changing exercises constantly
New movements feel like progress, but your body adapts to a specific pattern, not to novelty. Keep the same six moves for a full training block, usually six to eight weeks, before you swap anything out.
Skipping the warm-up and recovery days
Those five minutes are where you raise temperature and check your joints. Rest days are not wasted days, they are when your muscles actually adapt to the work.
Chasing soreness
Soreness is a side effect, not a scoreboard. Judge a session by the log and by how the movement feels, not by how much you hurt the next morning.
Training on an unsafe surface
Sliding socks on hardwood, an uneven rug, and a chair without a back leg behind you all cause the injuries beginners blame on exercise. A towel under the hands or a cleared patch of carpet fixes most of it.
Progressing every variable at once
More reps, more rounds, faster tempo, and harder variations in the same week is a recipe for a bad form crash. One change at a time, and give each one a full week to show results.
If you only take one habit from this list, make it logging your reps. People who train without any record tend to feel busy rather than stronger, because they are guessing at what changed.
Frequently Asked Questions
How many days a week should I work out at home without equipment?
Three sessions a week is the most reliable number for most beginners, spread across the week with at least one rest day between them. Two sessions still build strength if each one is focused. Four or five work once the habit is already there. The rest days are not wasted: muscles adapt while you recover, not while you train.
Which exercises should I pick for a beginner home workout routine without equipment?
Pick six movements that cover the main patterns: squats for the legs, wall or countertop push-ups for the chest and arms, glute bridges for the glutes, bird dogs and dead bugs for the core, and marching in place for cardio. Keep that list unchanged for six to eight weeks before changing anything. Consistency on a short list beats variety on a long one.
Is bodyweight training enough to get fit at home?
Bodyweight work is enough to build real strength, improve cardiovascular fitness, and support healthy weight when your diet lines up. What it trains less easily is very heavy loading of a single movement, such as a heavy barbell squat. Many people use bodyweight for years and add resistance bands or a backpack later. Talk to a doctor before starting if you have a medical condition or an injury.
How fast will I see results from a home workout routine without equipment?
Most people notice more endurance and easier daily tasks within a few weeks. Visible strength changes usually show up around eight to twelve weeks of steady work, and that timeline assumes a real routine rather than occasional sessions. Progress in a no-equipment bodyweight program is usually measured in reps and hold times, so keep recording those numbers week to week.
What should I do about pain during or after a no-equipment workout?
Stop and see a healthcare professional for sharp pain, joint pain, numbness, or anything that lingers more than a few days. Mild muscle soreness a day or two after a new session is common. Knees and lower backs are the usual trouble spots, so a shallower squat, a wall push-up, or a dead bug instead of a plank can take pressure off. A doctor or physical therapist can tell you which changes suit your joints.
Conclusion: Start With Three Days and One Good Week
A home workout routine without equipment is a schedule, a short list of movements, and a rule about progressing one variable at a time. Three sessions a week, 20 to 25 minutes each, built from a five-minute warm-up, three rounds of six exercises, and a short cool-down.
Do this next: write down three days and times you can protect, pick the six movements above, and complete one full week before deciding whether to make it harder. Once that week is behind you, use your log to choose the single change that makes the routine harder, and repeat that loop. That is the whole method, and it is the same one you would follow in any gym without the membership.